8U DIY Open Frame Rack (OR0108BK) Assembly Guide | Step-by-Step Instructions
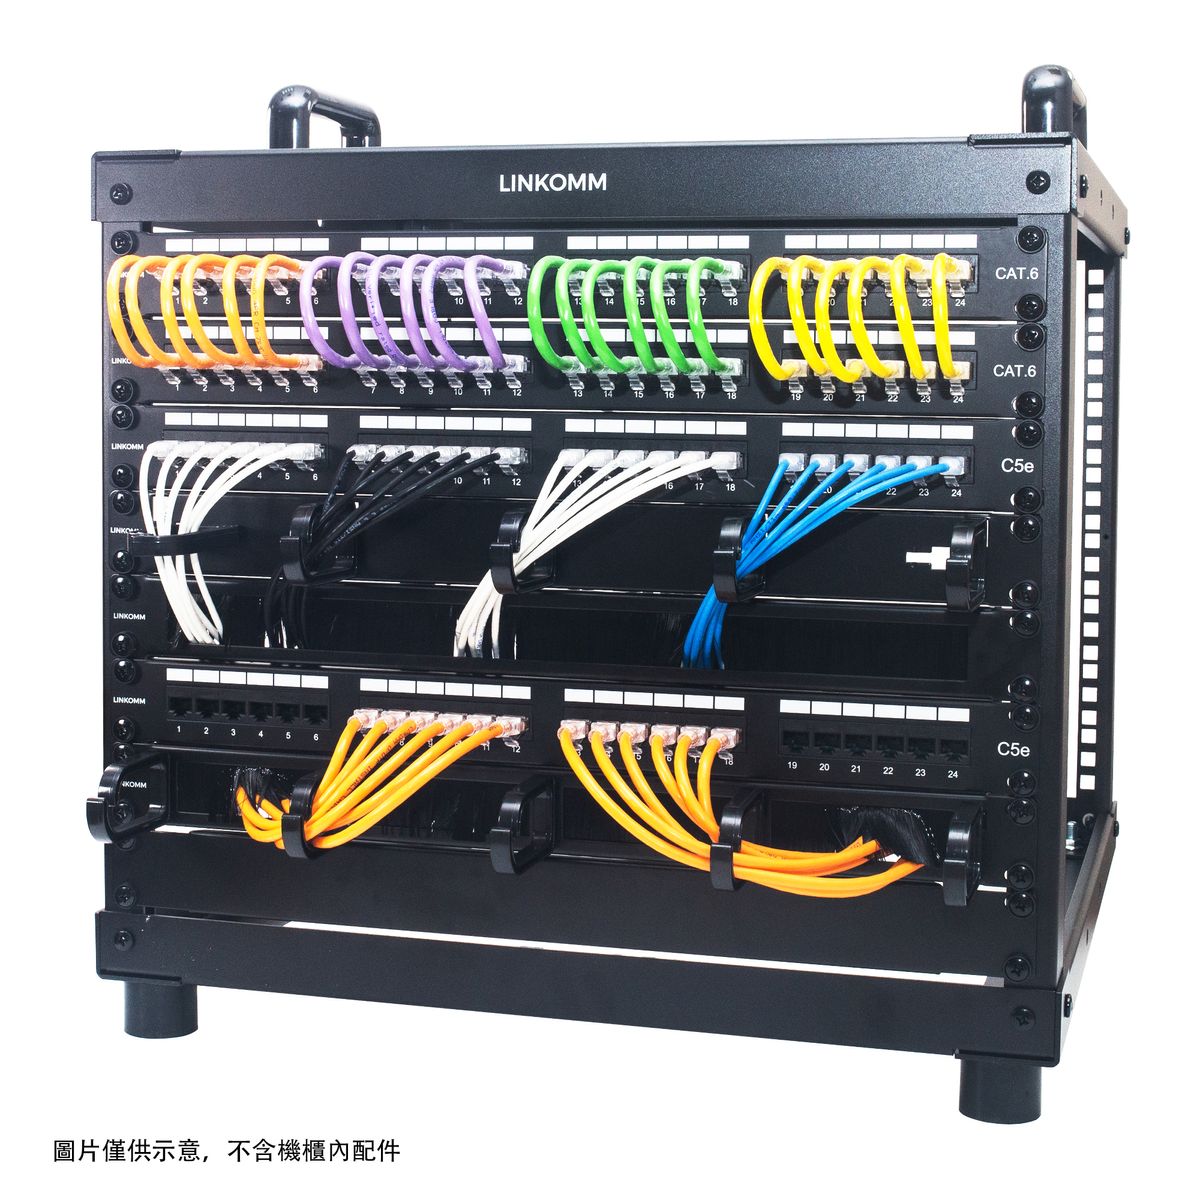
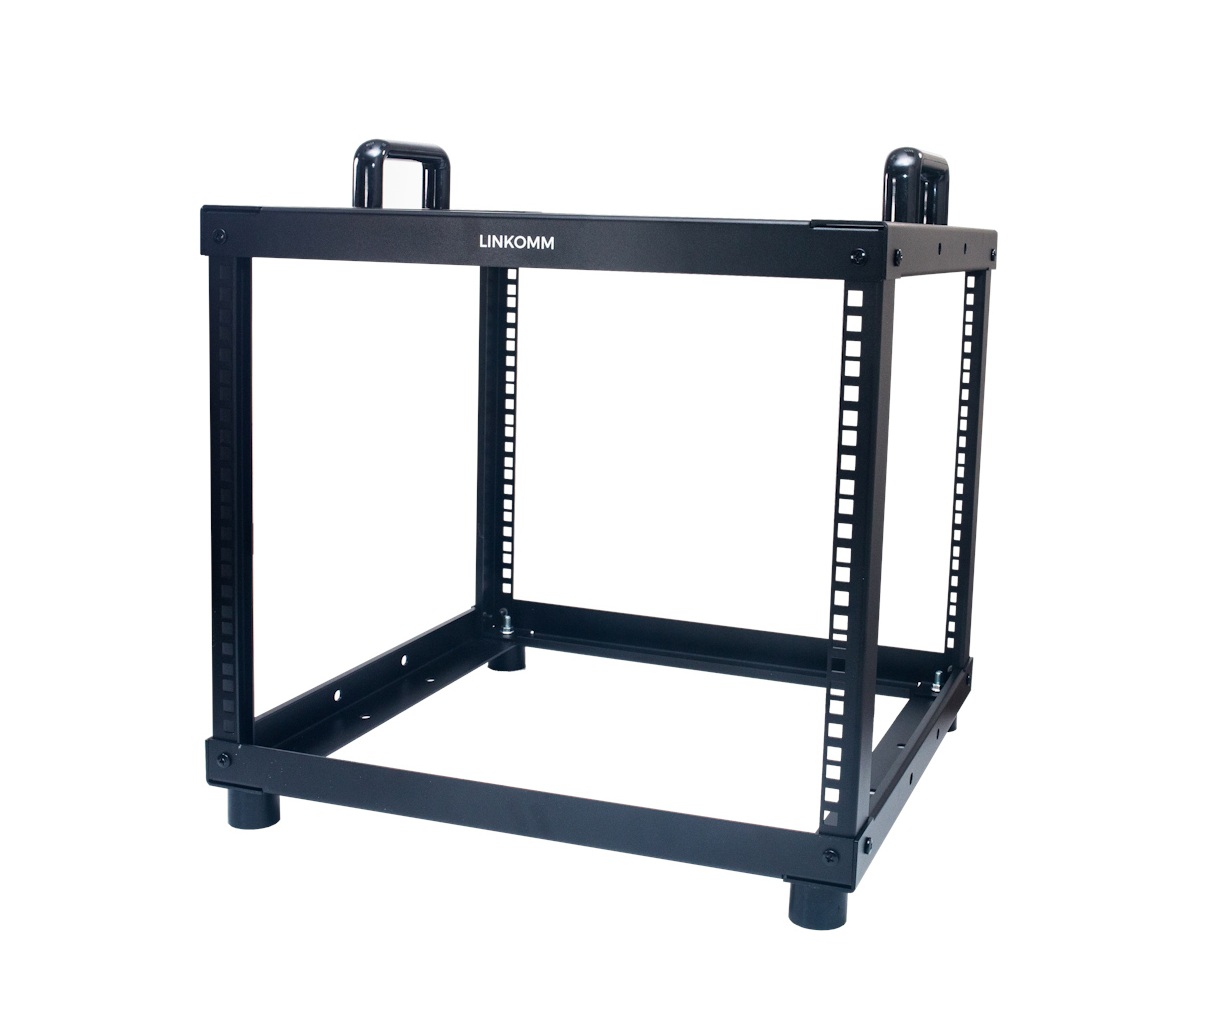
Open frame racks are widely used for networking equipment, surveillance systems, and low-voltage installations. The LINKOMM 8U DIY Open Frame Rack (OR0108BK) is designed for small offices, home networks, CCTV systems, and other compact network setups.
With a 19-inch rack mounting standard (482.6mm), a maximum load capacity of 100kg, and a compact size of 500mm (W) × 500mm (D) × 470mm (H, including feet), it is ideal for organizing rack-mount network switches, patch panels, routers, and surveillance equipment.
Its open-frame design provides better airflow and easy access to equipment. The Flat-Pack design also reduces shipping volume and makes storage more convenient. With a few simple steps, you can quickly assemble the rack and get your equipment organized.
Preparation Before Assembly
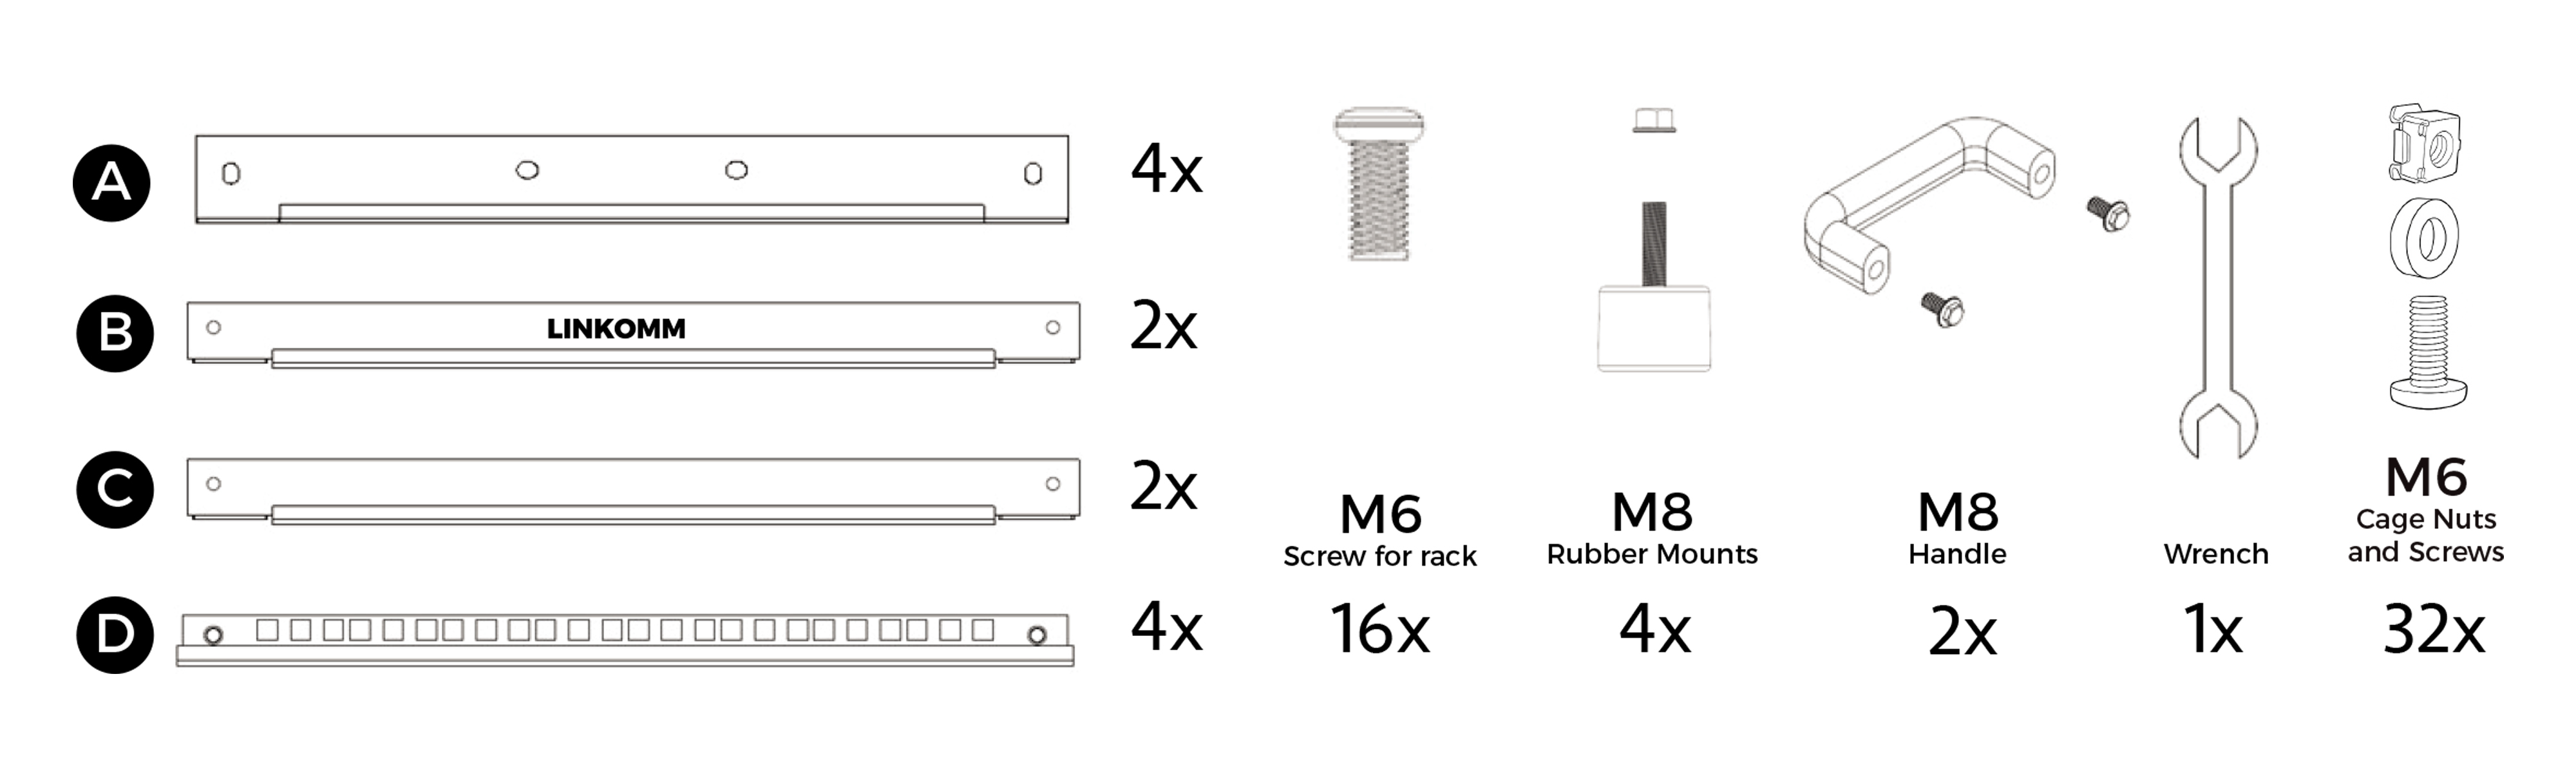
Before starting, remove all components from the packaging and organize them by type. Make sure all parts and accessories are included.
Tools Required:
Phillips screwdriver
Allen wrench (depending on the tools included with the product)
Arrange all screws, upright posts, crossbars, base panels, handles, and rubber feet separately. This will make the assembly process easier and more efficient.
Step 1 | Assemble the First Side Frame
First, prepare two upright posts and the upper and lower crossbars.
Align the crossbars with the mounting holes on the upright posts, then secure them together to form a rectangular frame.
During installation, loosely tighten all screws first instead of fully tightening them. This allows you to adjust the alignment of the mounting holes during assembly. Once the frame is properly aligned, fully tighten all screws to secure the structure and prevent misalignment.
Once completed, the first side frame is ready.
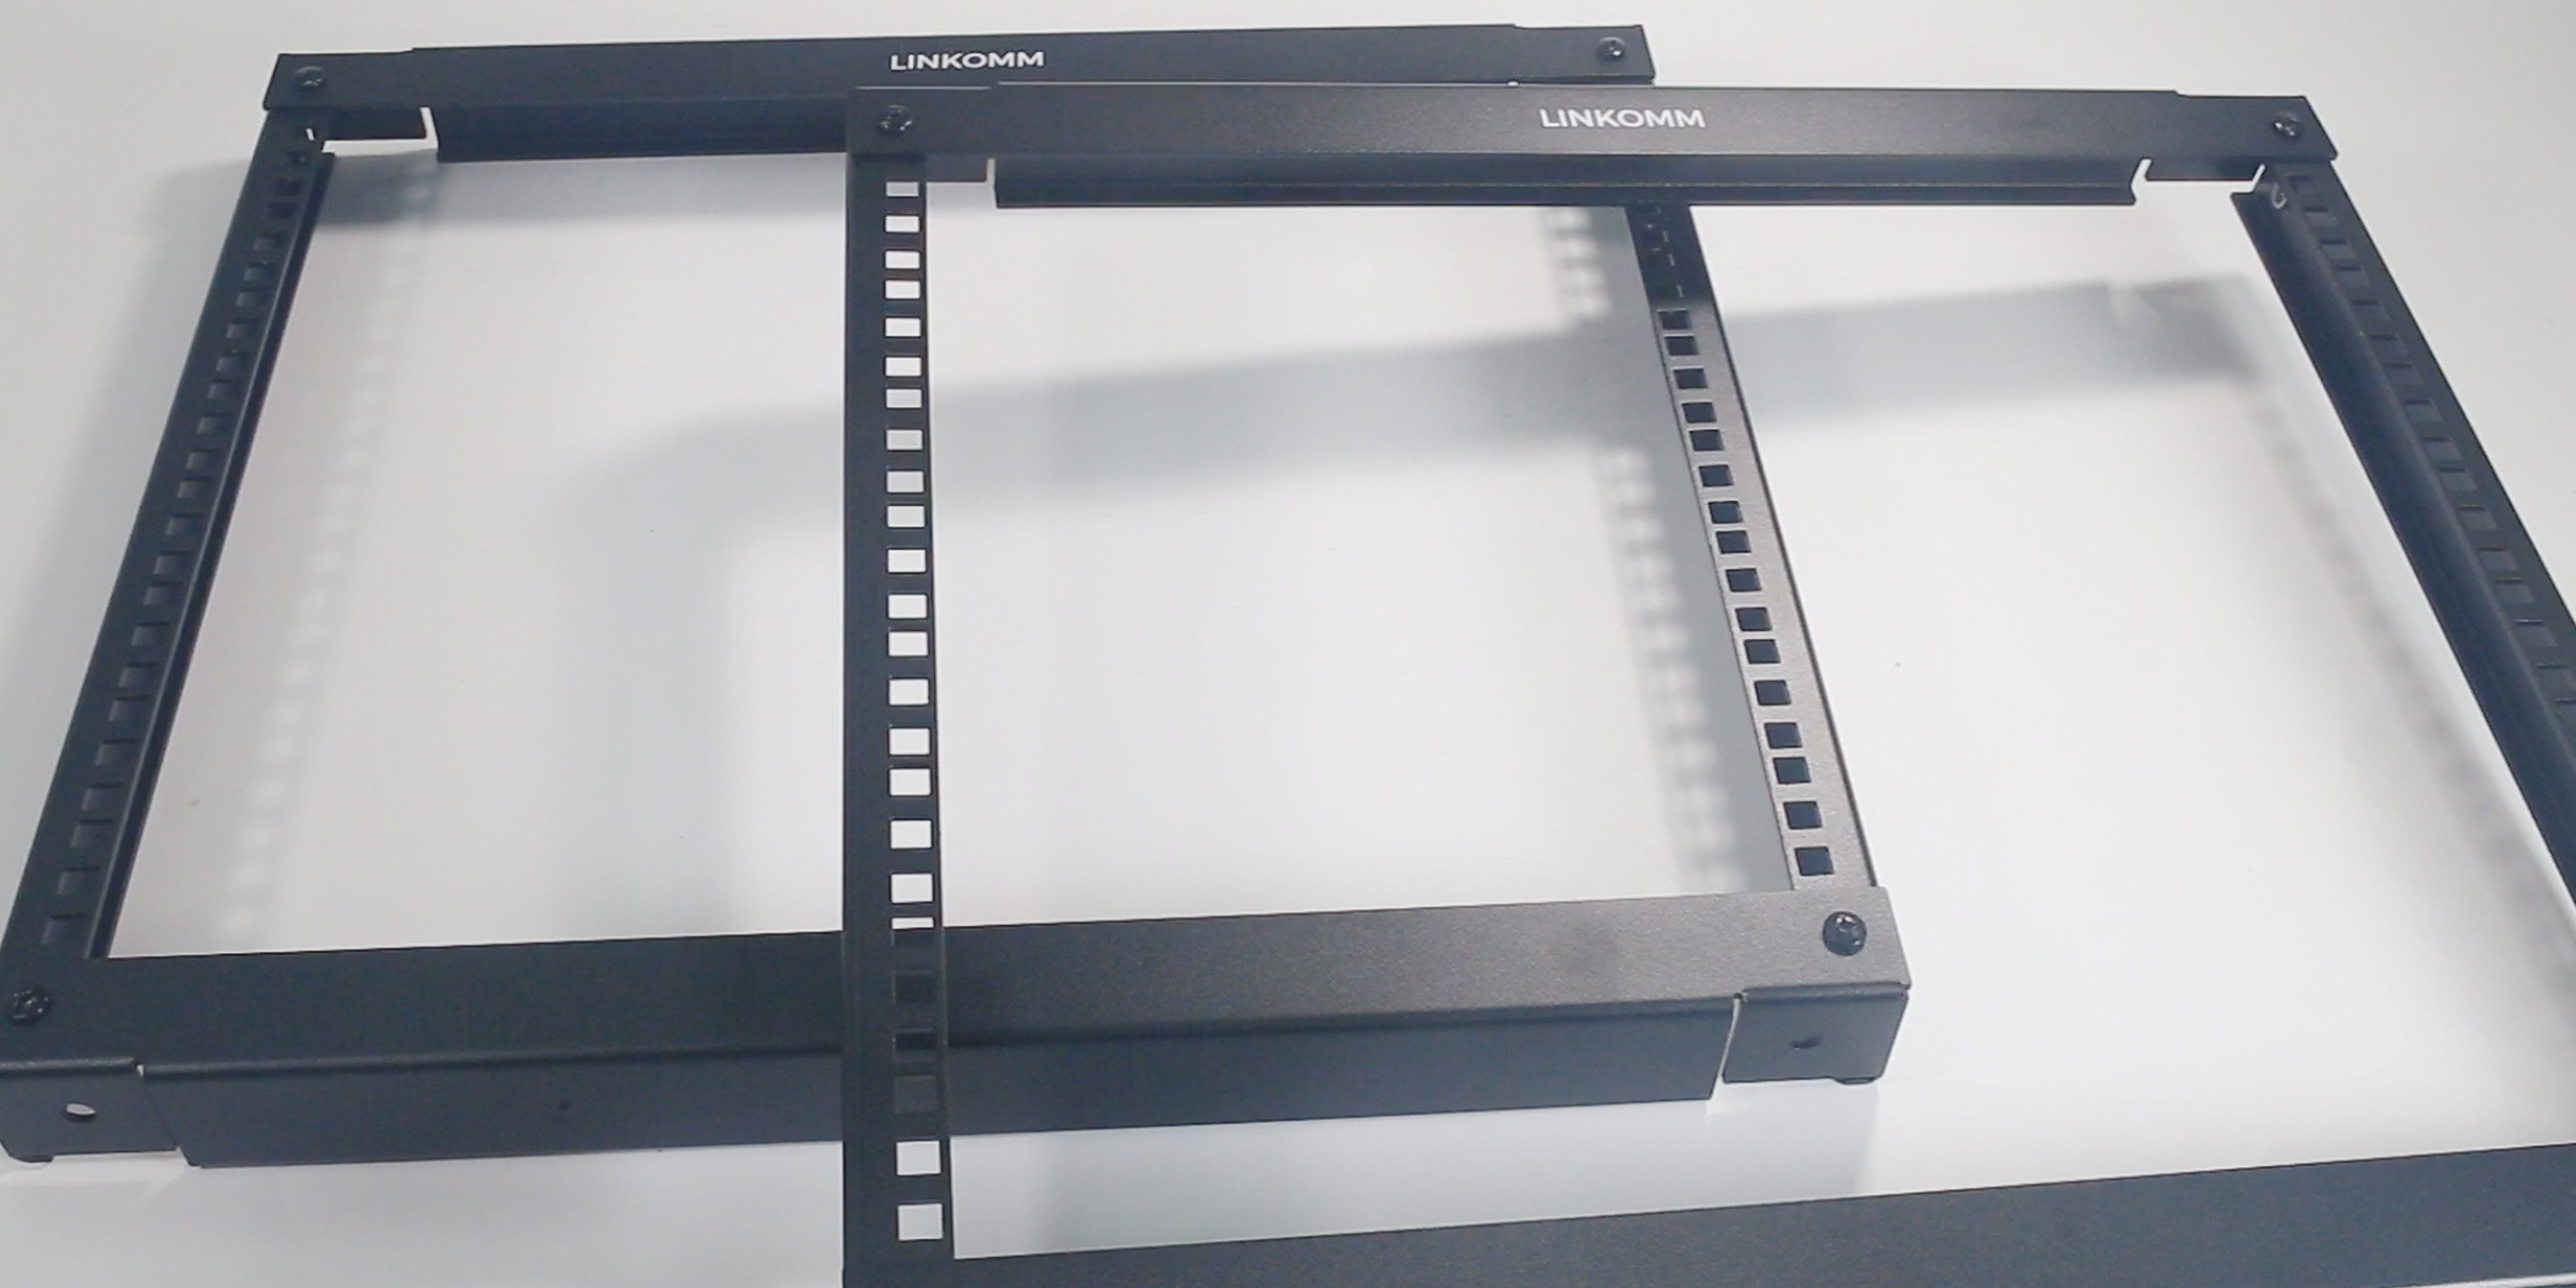
Step 2 | Assemble the Second Side Frame
Next, prepare the remaining upright posts and crossbars.
Follow the same steps as Step 1 to assemble the second side frame.
Once completed, you will have two side frames, one for each side of the rack.
Before moving on, check the following:
Both frames are facing the same direction.
The mounting holes are oriented the same way.
The crossbars are positioned at the same height.
These checks will help prevent alignment issues and avoid having to disassemble the frames during the next steps.
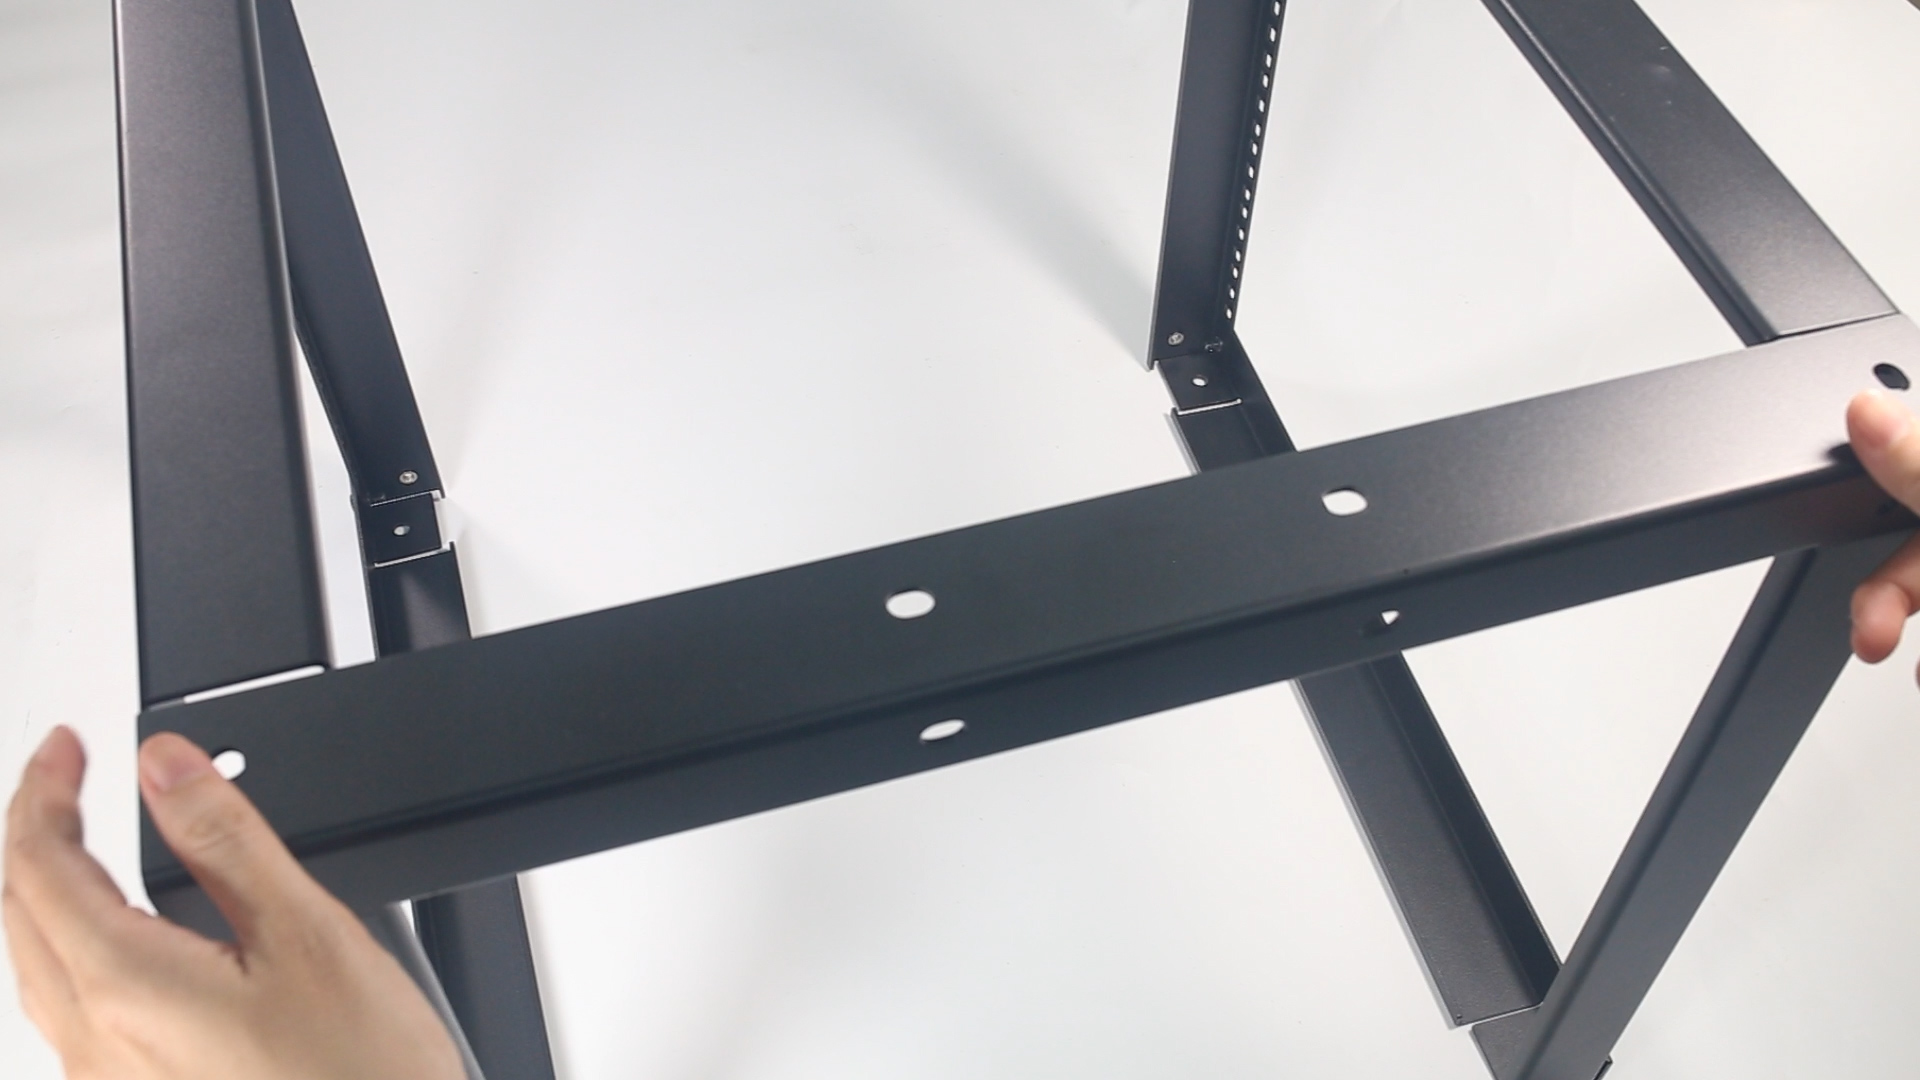
Step 3 | Connect the Front and Rear Crossbars to Complete the Main Frame
Stand both side frames upright.
Use the front and rear crossbars to connect and secure the two side frames together.
For easier installation, follow these steps:
Secure one side first.
Attach the crossbars to the other side.
Fully tighten all screws.
This sequence makes it easier to align the mounting holes and helps improve assembly efficiency.
Once completed, the main rack frame will be assembled.
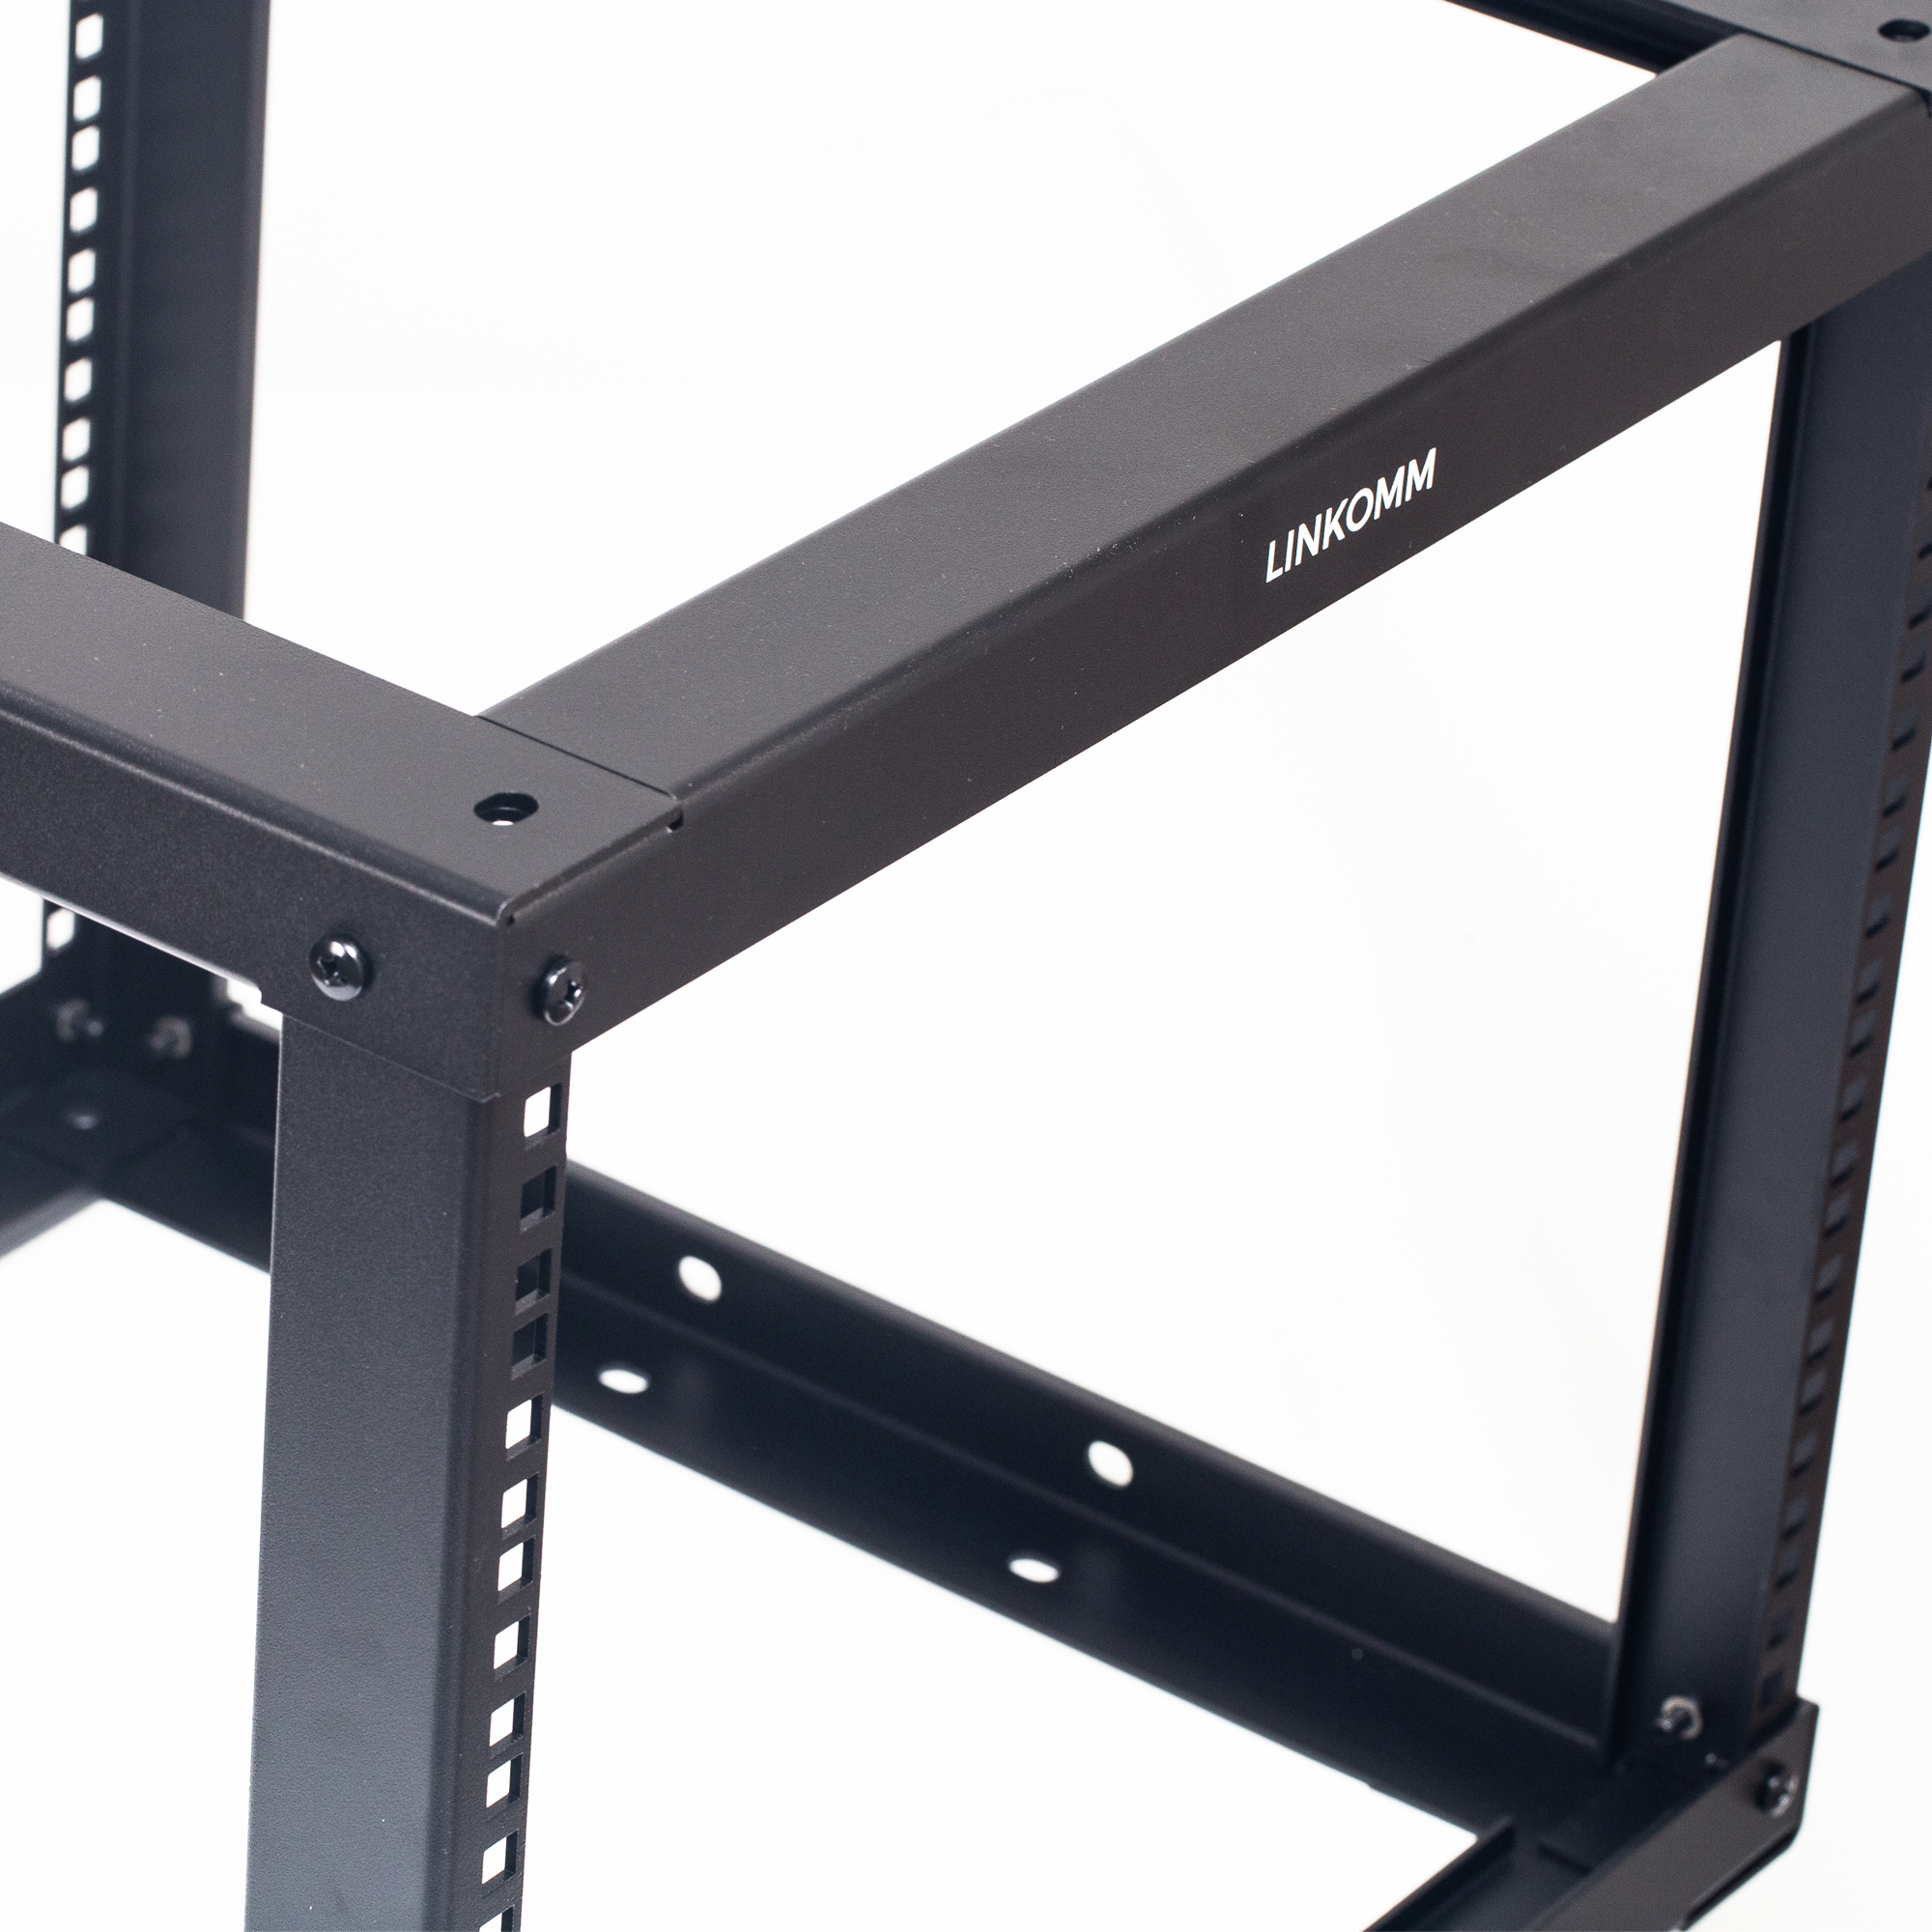
Step 4 | Install the Four Rubber Feet
Once the main frame is assembled, carefully turn the rack upside down to access the bottom.
Install the four rubber feet at each corner of the base and secure them in place.
The rubber feet help to:
Improve overall stability.
Protect floors and other surfaces from scratches.
Reduce sliding.
Minimize vibration.
They also help prevent scratches when the rack is placed on a tabletop or work surface.
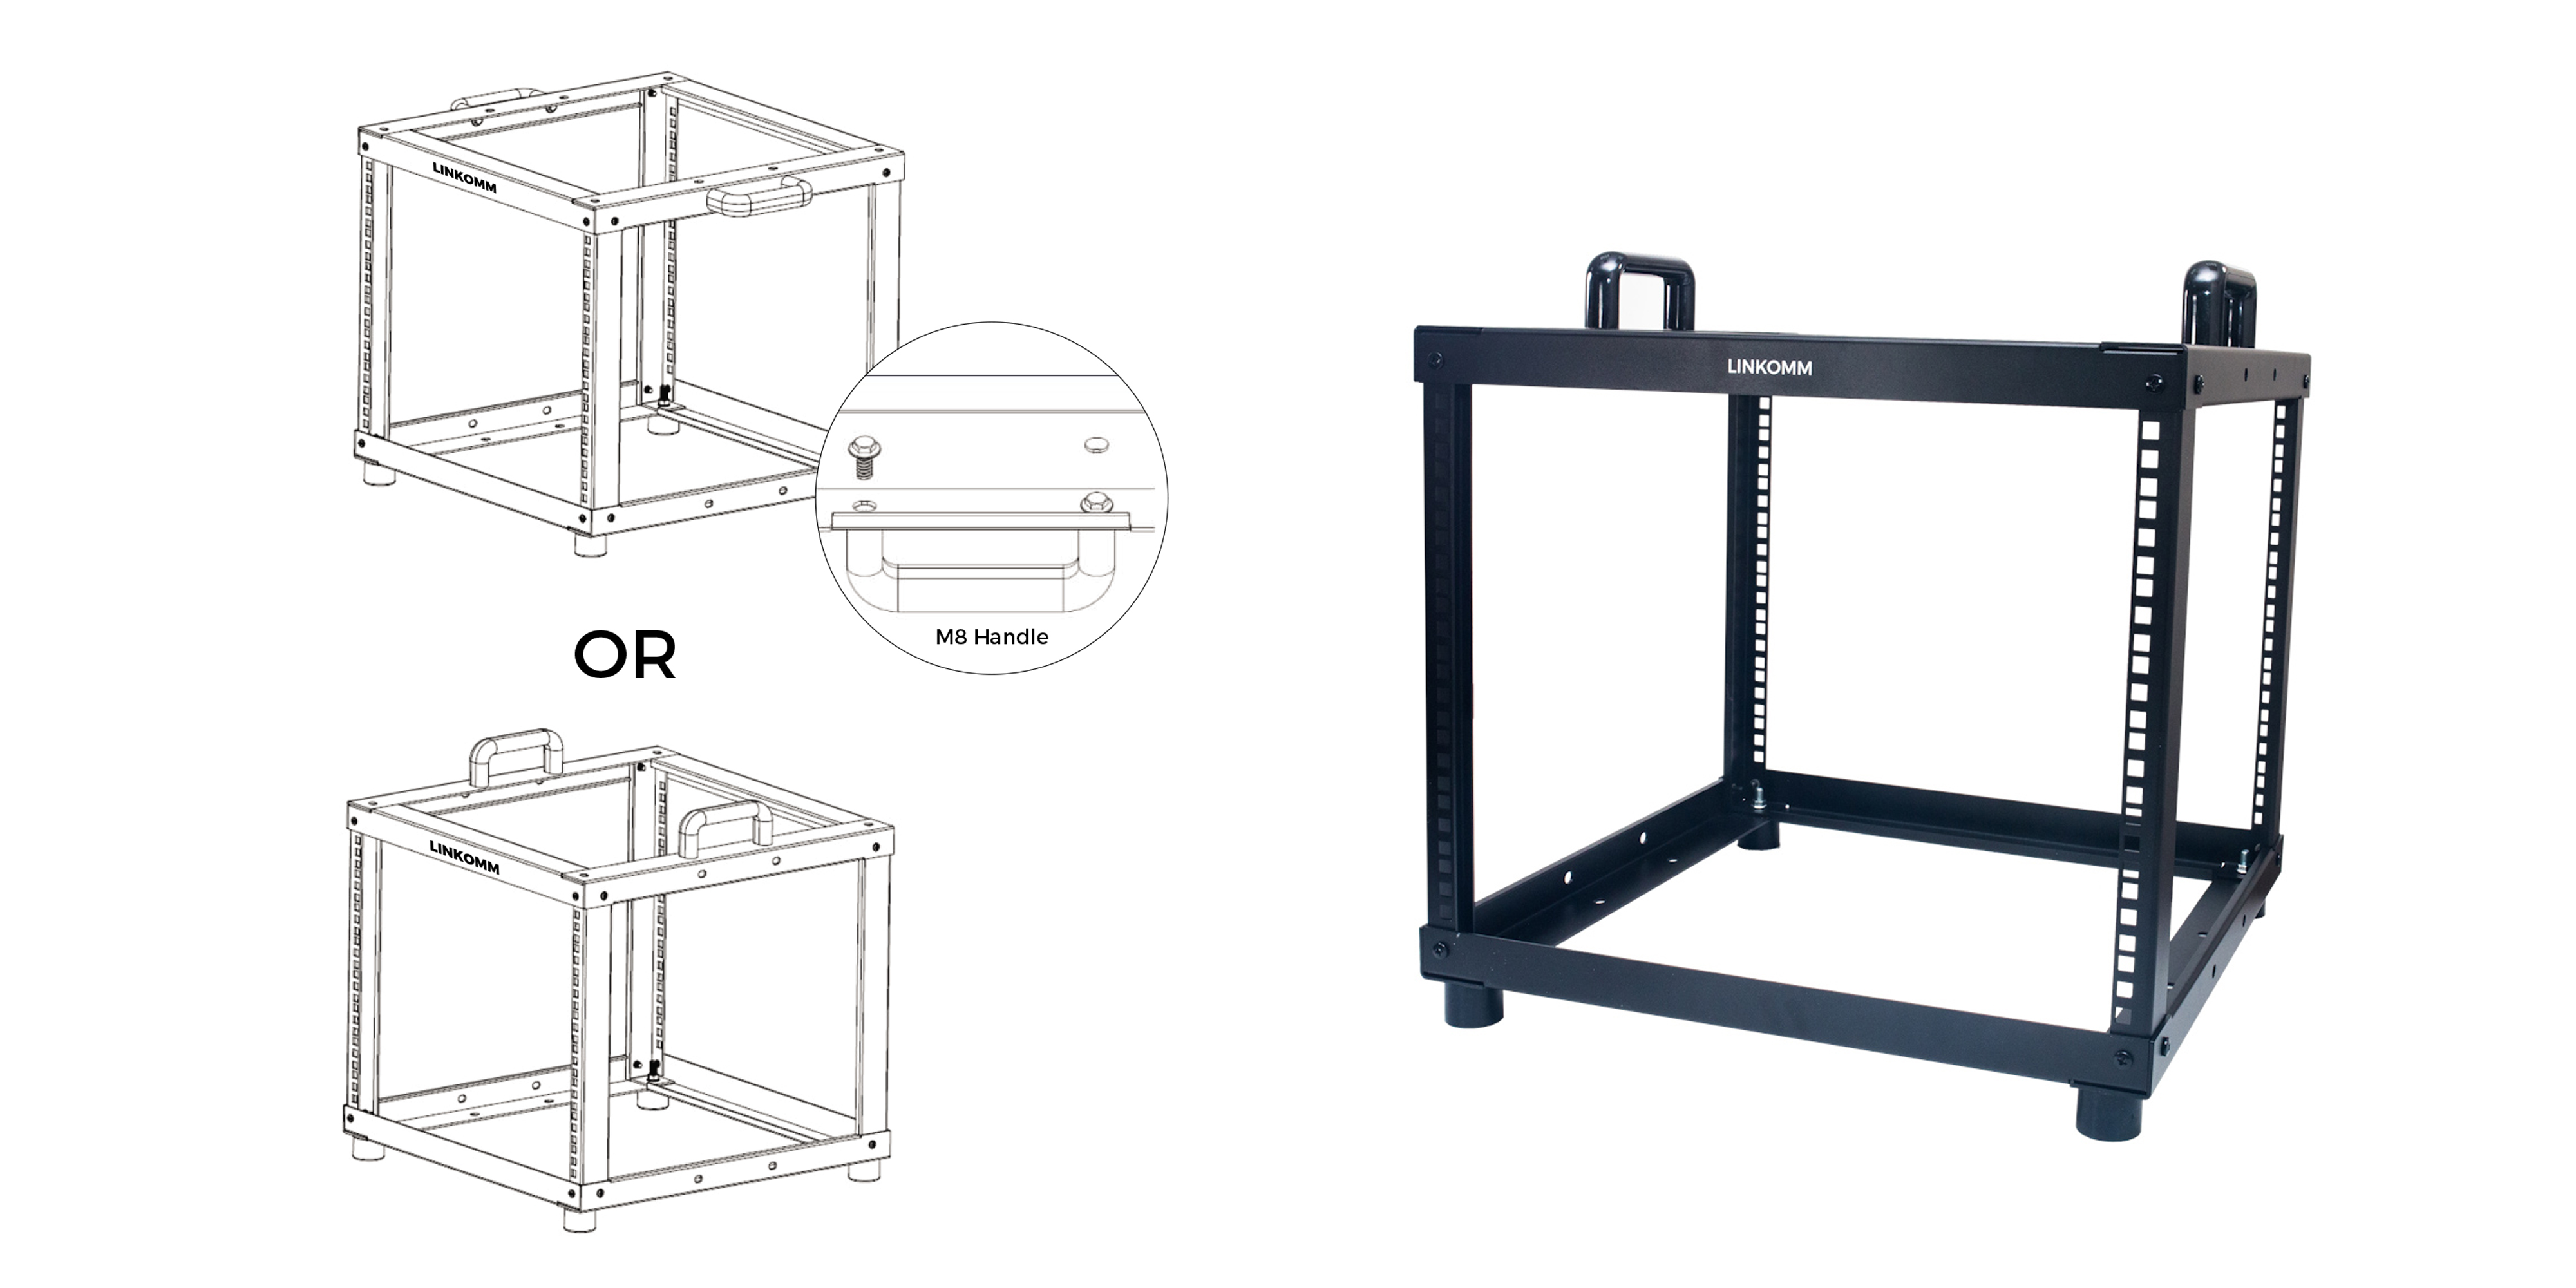
Step 5 | Install the Front Handle
Next, attach the handle to the pre-drilled mounting holes at the top front of the rack. You can choose the handle's installation angle based on your preferences.
The handle makes the rack easier to carry and move, while also giving it a more finished appearance.
Tighten the screws securely to complete the installation.
Step 6 | Complete the Rack Assembly
The 8U DIY Open Frame Rack is now fully assembled.
Before installing any equipment, check the following:
All screws are securely tightened.
The rack is stable and does not wobble.
The left and right upright posts are parallel.
The rack is level.
Once everything is properly aligned and secured, you can begin installing your equipment.
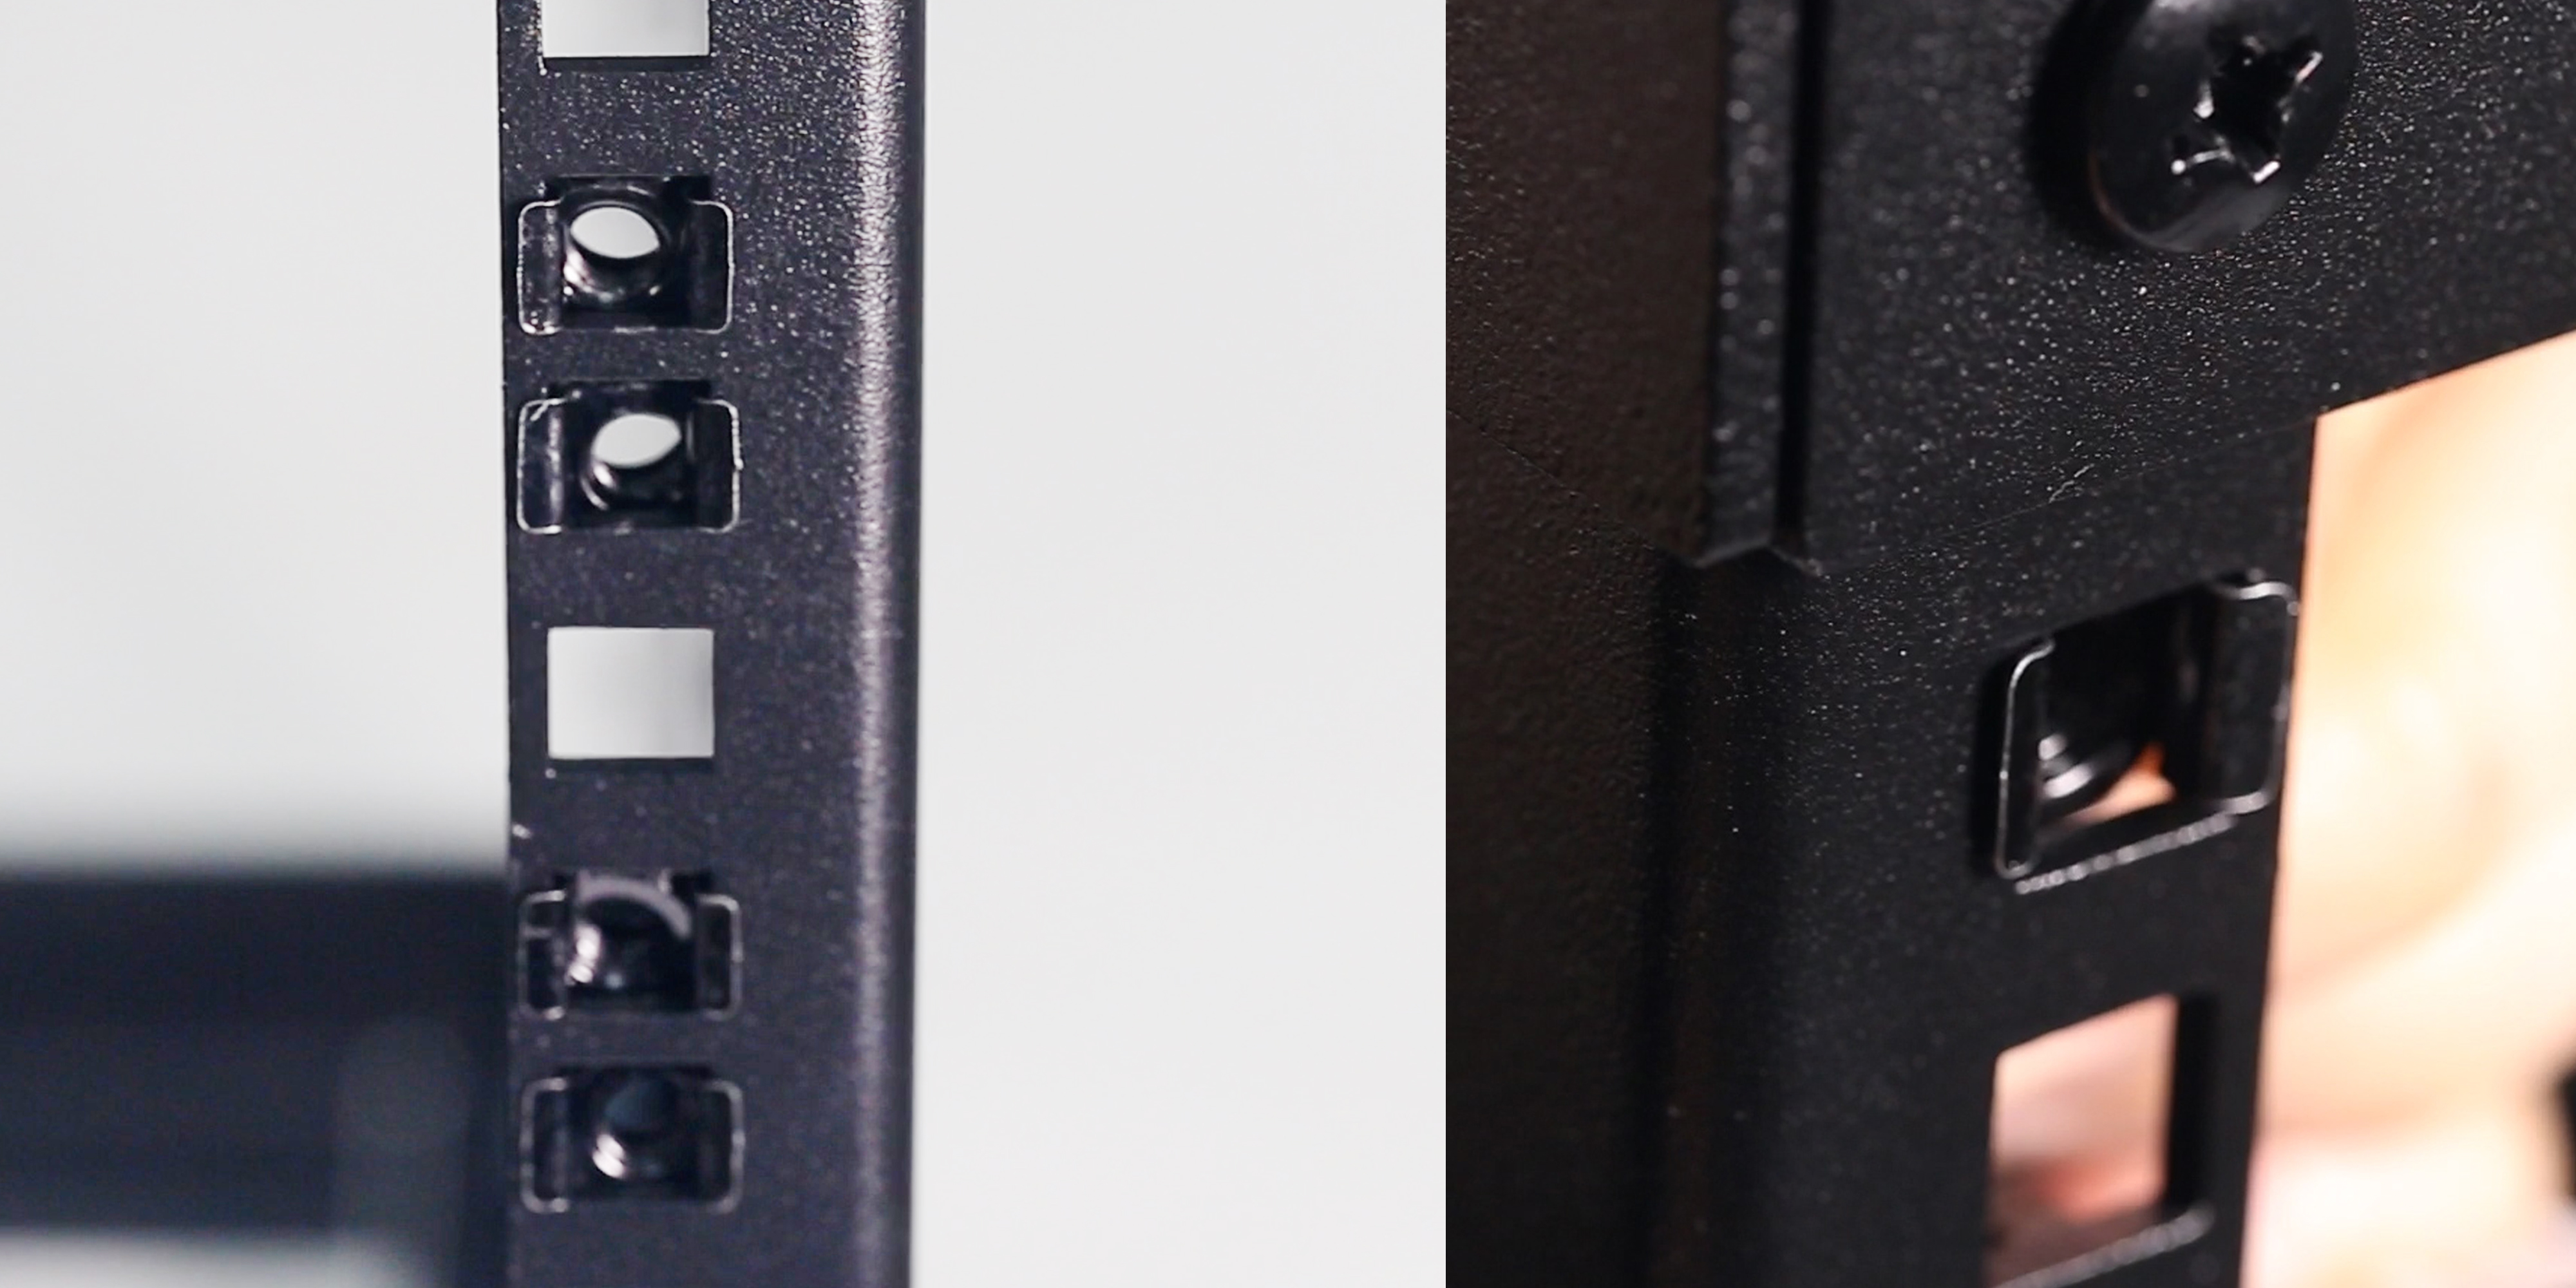
First, install the cage nuts into the corresponding square mounting holes on the rack posts. Since the rack posts feature a square-hole design, cage nuts must be installed before using rack screws to securely mount equipment to the rack.
Step 7 | Install Standard 19-Inch Rack-Mount Equipment
This rack is designed for standard 19-inch rack-mount equipment, making it compatible with a wide range of devices, including:
Patch Panels
Network Switches
Cable Management Panels
Rack-Mount Equipment
Power Distribution Units (PDUs)
Other standard 19-inch rack-mount devices
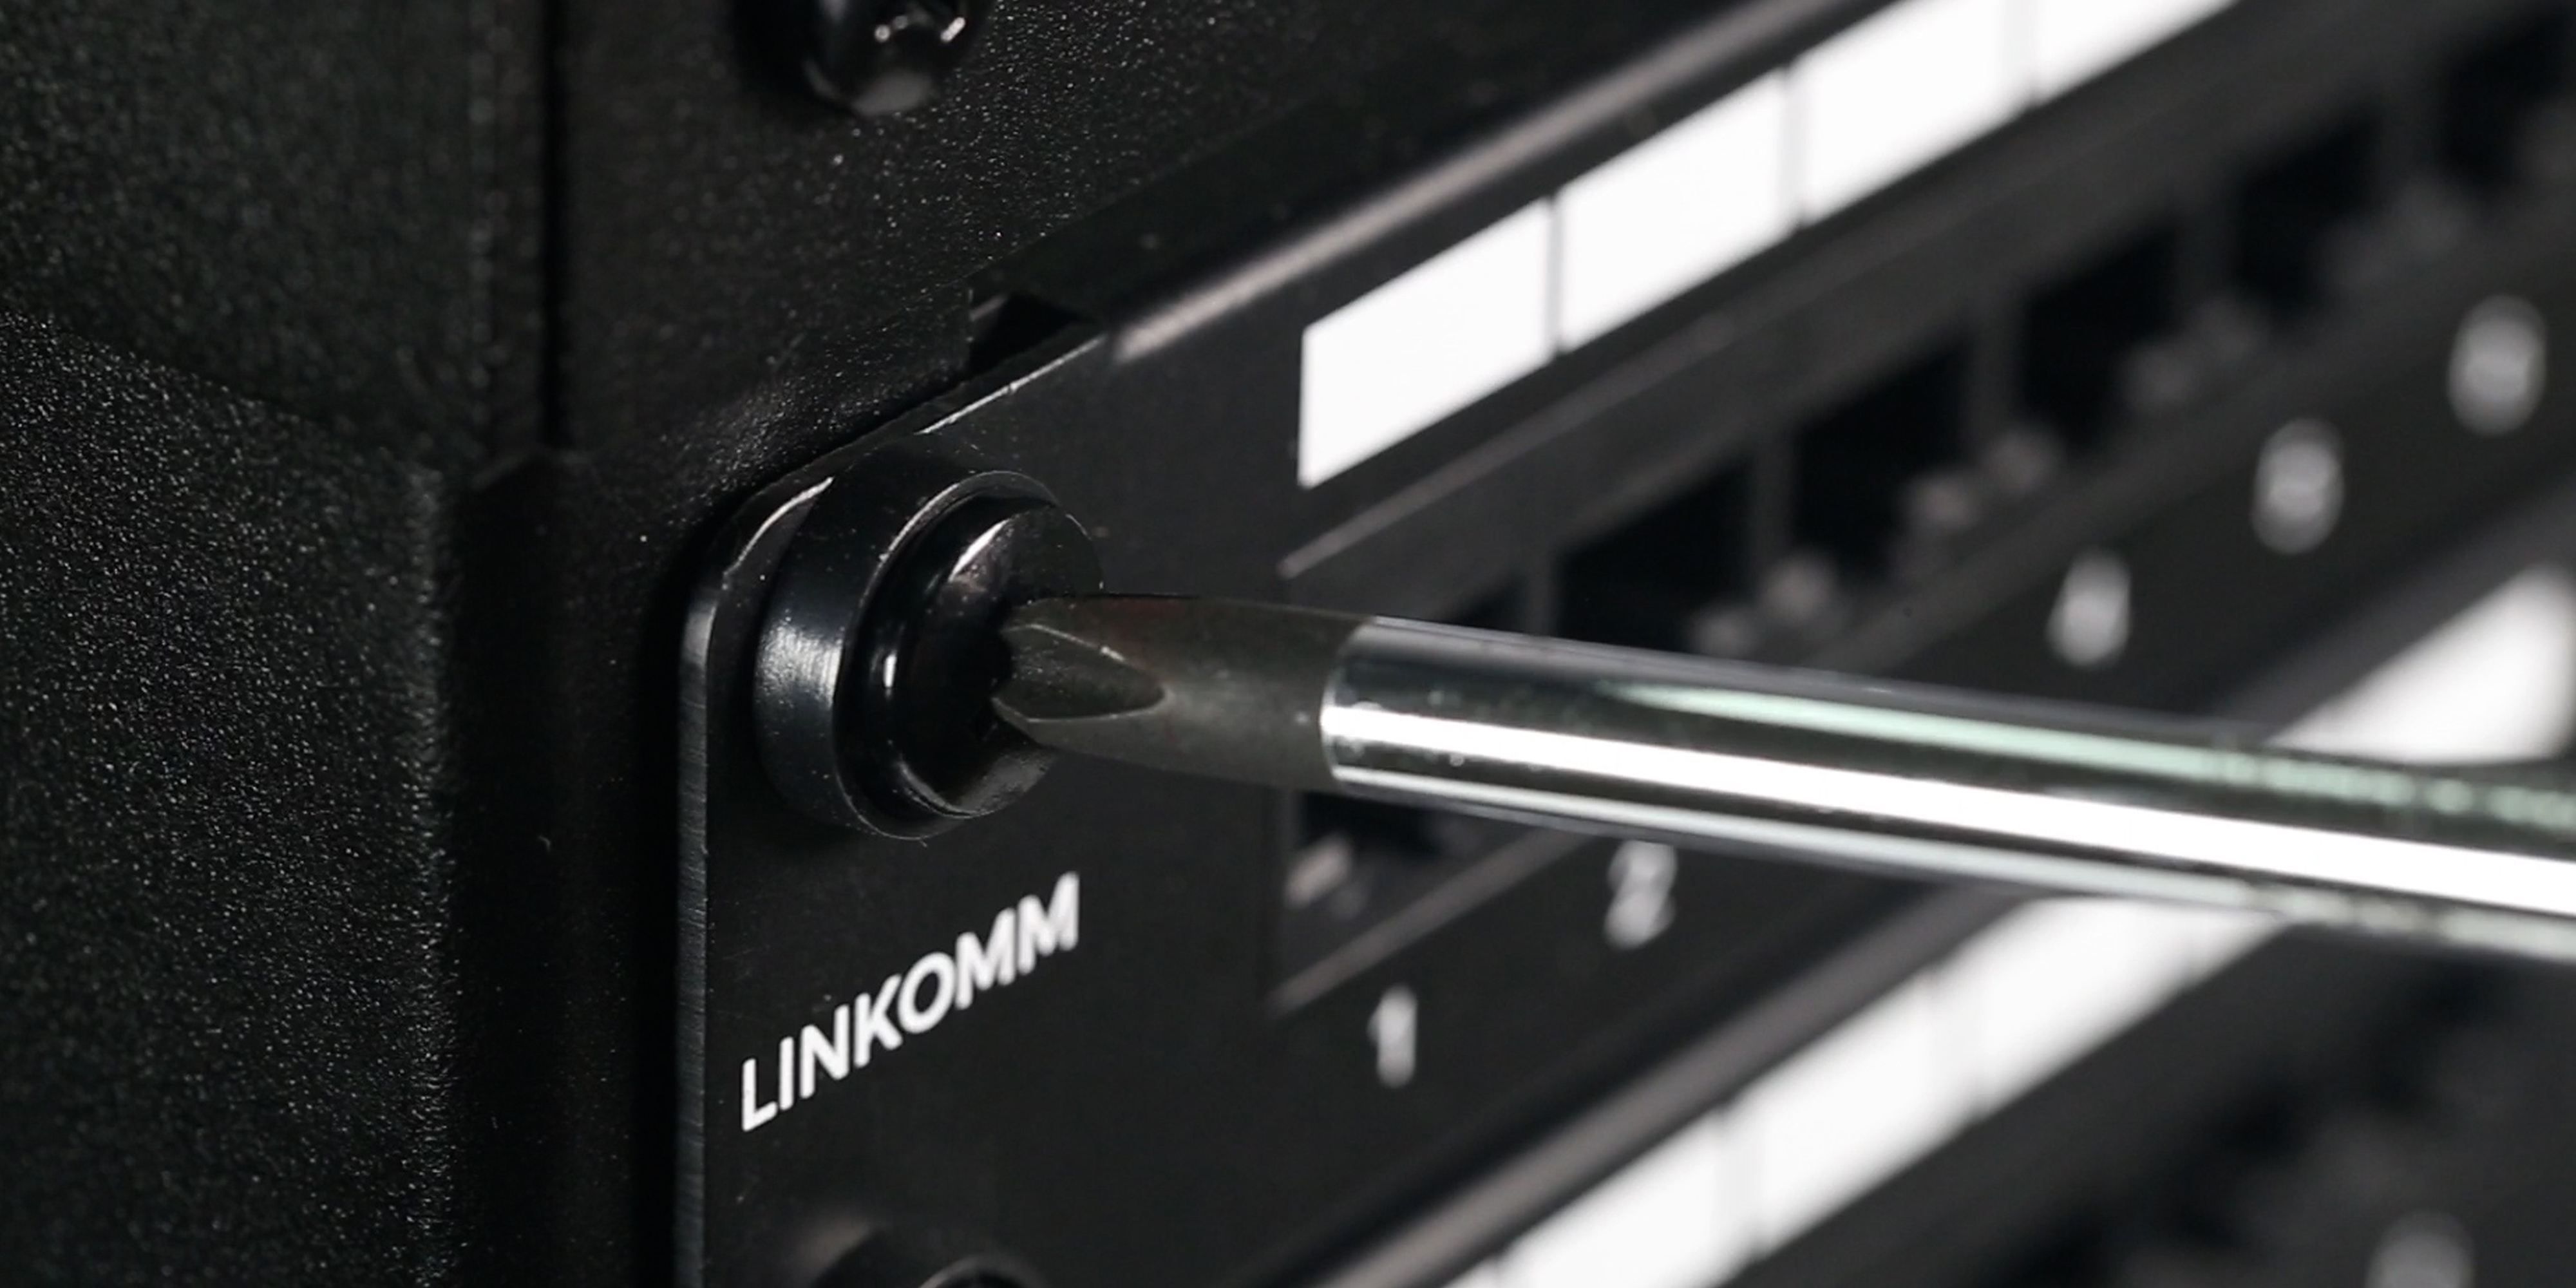
Choose the appropriate mounting position based on the U height of each device, then secure it in place using rack screws.
Complete the Assembly and Build an Organized Network Cabling Environment
The LINKOMM OR0108BK features a DIY assembly design that helps reduce packaging size and shipping costs while making the product easier to transport and store.
Once assembled, the rack can be used with LINKOMM patch panels, cable management panels, and other 19-inch rack-mount equipment and cabling to create a neat, organized, and easy-to-maintain network cabling environment.
If this is your first time assembling the rack, you can follow our official assembly video or user manual for clear, step-by-step instructions to make the installation process easier.