

In any modern office or data center, cable clutter is more than just a visual problem — it can affect airflow, maintenance, and even system reliability.
Structured cabling is the foundation of an efficient network environment, ensuring stable performance and easy scalability.
In this guide, LINKOMM shares a complete step-by-step approach to organizing your server rack, featuring professional tools and accessories designed for clean, structured, and high-performance cabling.
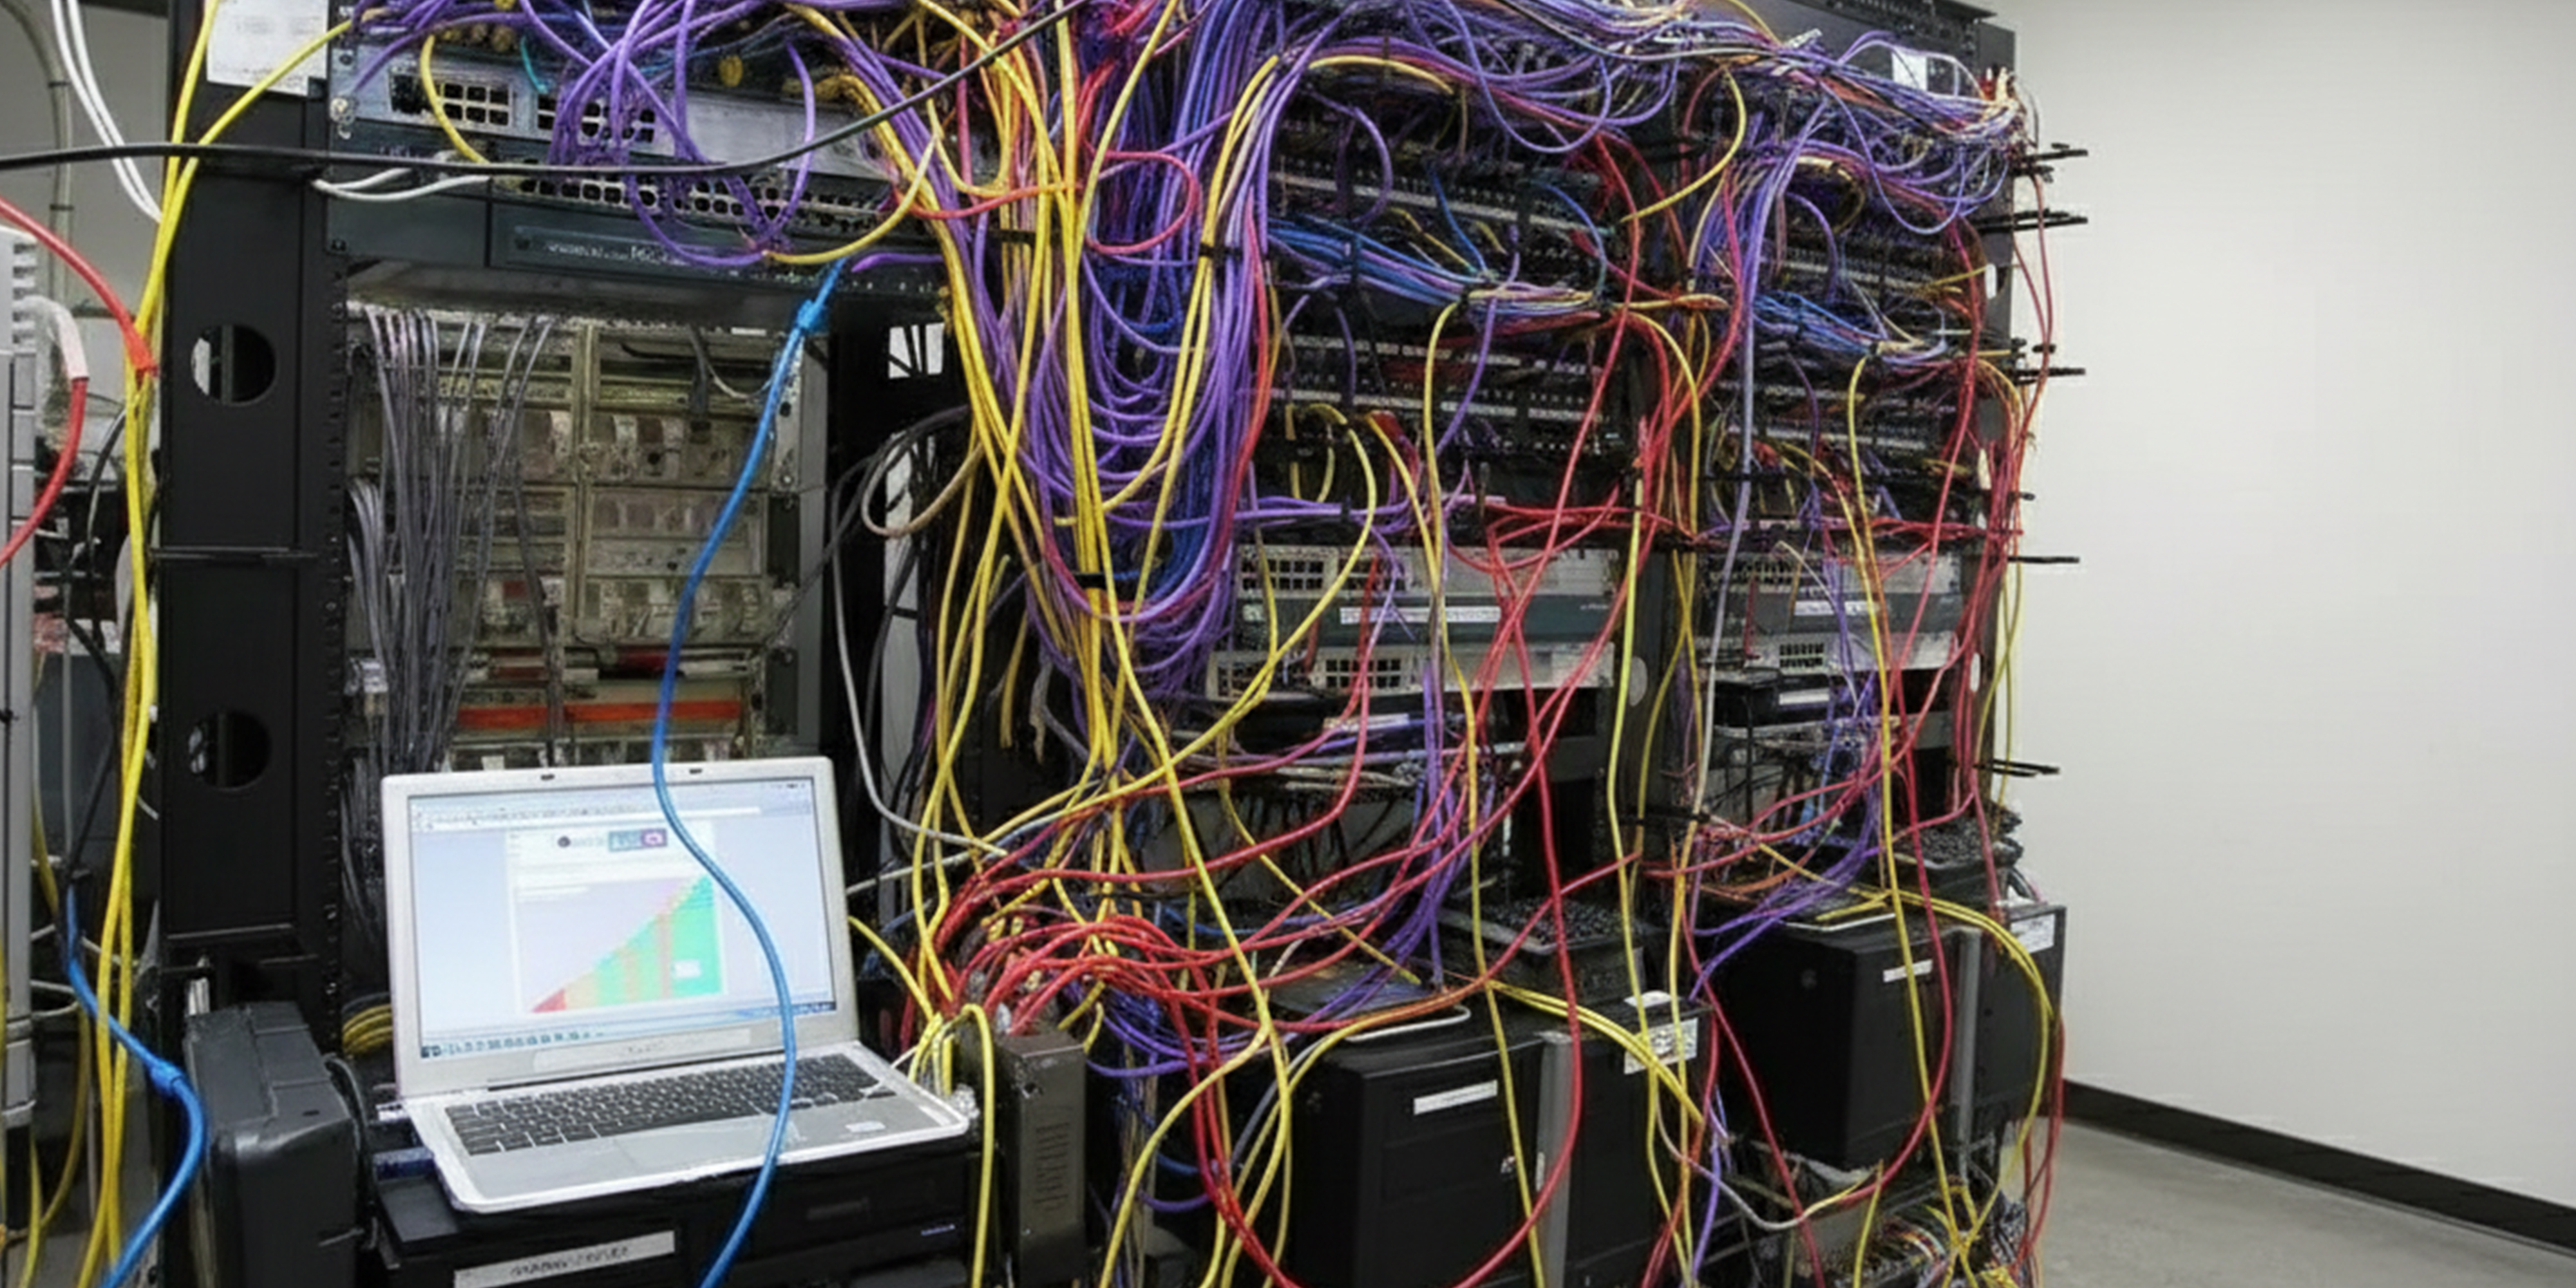
1. Understand the Problem: The “Messy Rack”
In offices or data centers, a cluttered server rack is more than just unsightly — it can lead to cable damage, signal interference, poor ventilation, and reduced maintenance efficiency.
Good cable management not only improves aesthetics but also enhances reliability and performance.
Common issues include:
Cables overlapping or tangled, making maintenance difficult
Over bending or pulling, affecting signal quality
Poor airflow, leading to overheating
Inefficient use of space, making expansion difficult
The key is to plan cable routing properly and use management accessories like cable managers, D-Rings, brush panels, blank spacers, and trays to keep everything neat and organized.
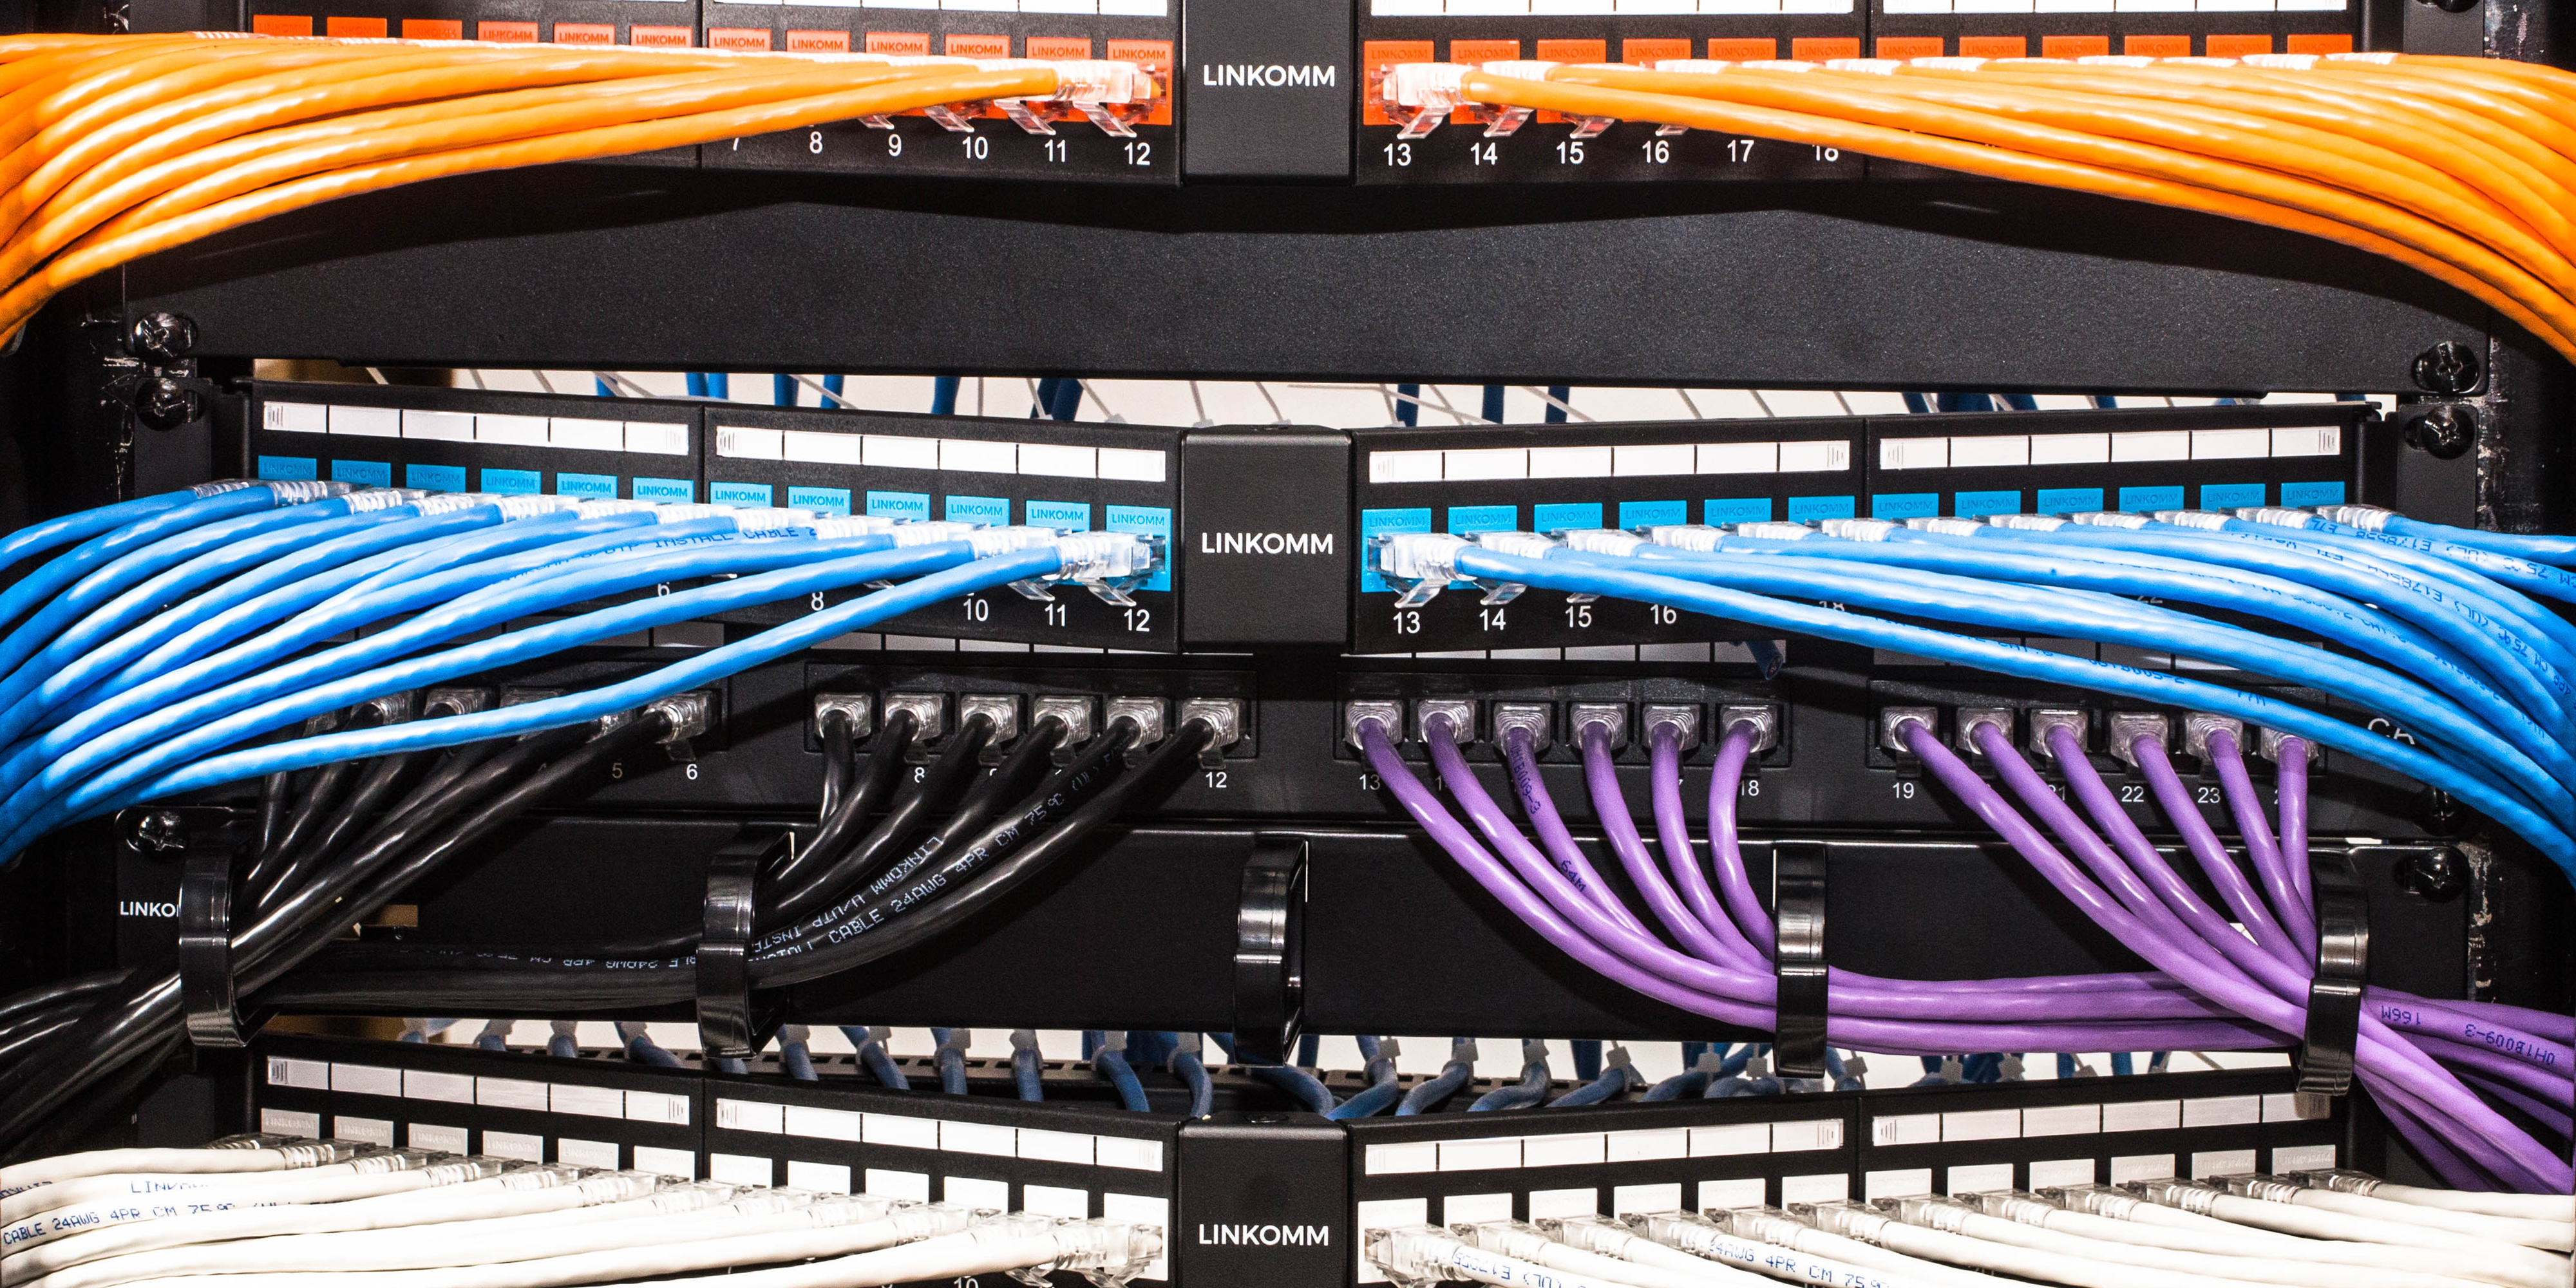
2. Patch Panel: The Heart of Cable Organization
A Patch Panel serves as the “central hub” for your cables, simplifying future maintenance and upgrades.
Best practices:
Arrange patch cords vertically or horizontally to avoid tangling
Use cable managers or D-Rings to guide cables and minimize tension
Pro tip:
Install a horizontal cable manager or D-Ring below the patch panel to keep patch cords aligned with the switch.
Use different cable colors to identify functions or floors for easy recognition.

3. Rack Shelf / Equipment Tray: Extra Flexibility
A rack shelf provides a stable platform for non-rackmount devices such as switches, hubs, modems, or toolboxes. It increases flexibility and helps maintain order in your rack.
Usage tips:
Choose the right size and weight capacity
Avoid placing devices directly on the rack bottom
Combine with D-Rings or cable managers to route cables neatly
Ideal for small accessories or power strips
Pro tip:
For irregular or lightweight equipment, a shelf is more flexible than direct screw mounting.
Plan cable routes around the shelf to avoid clutter.
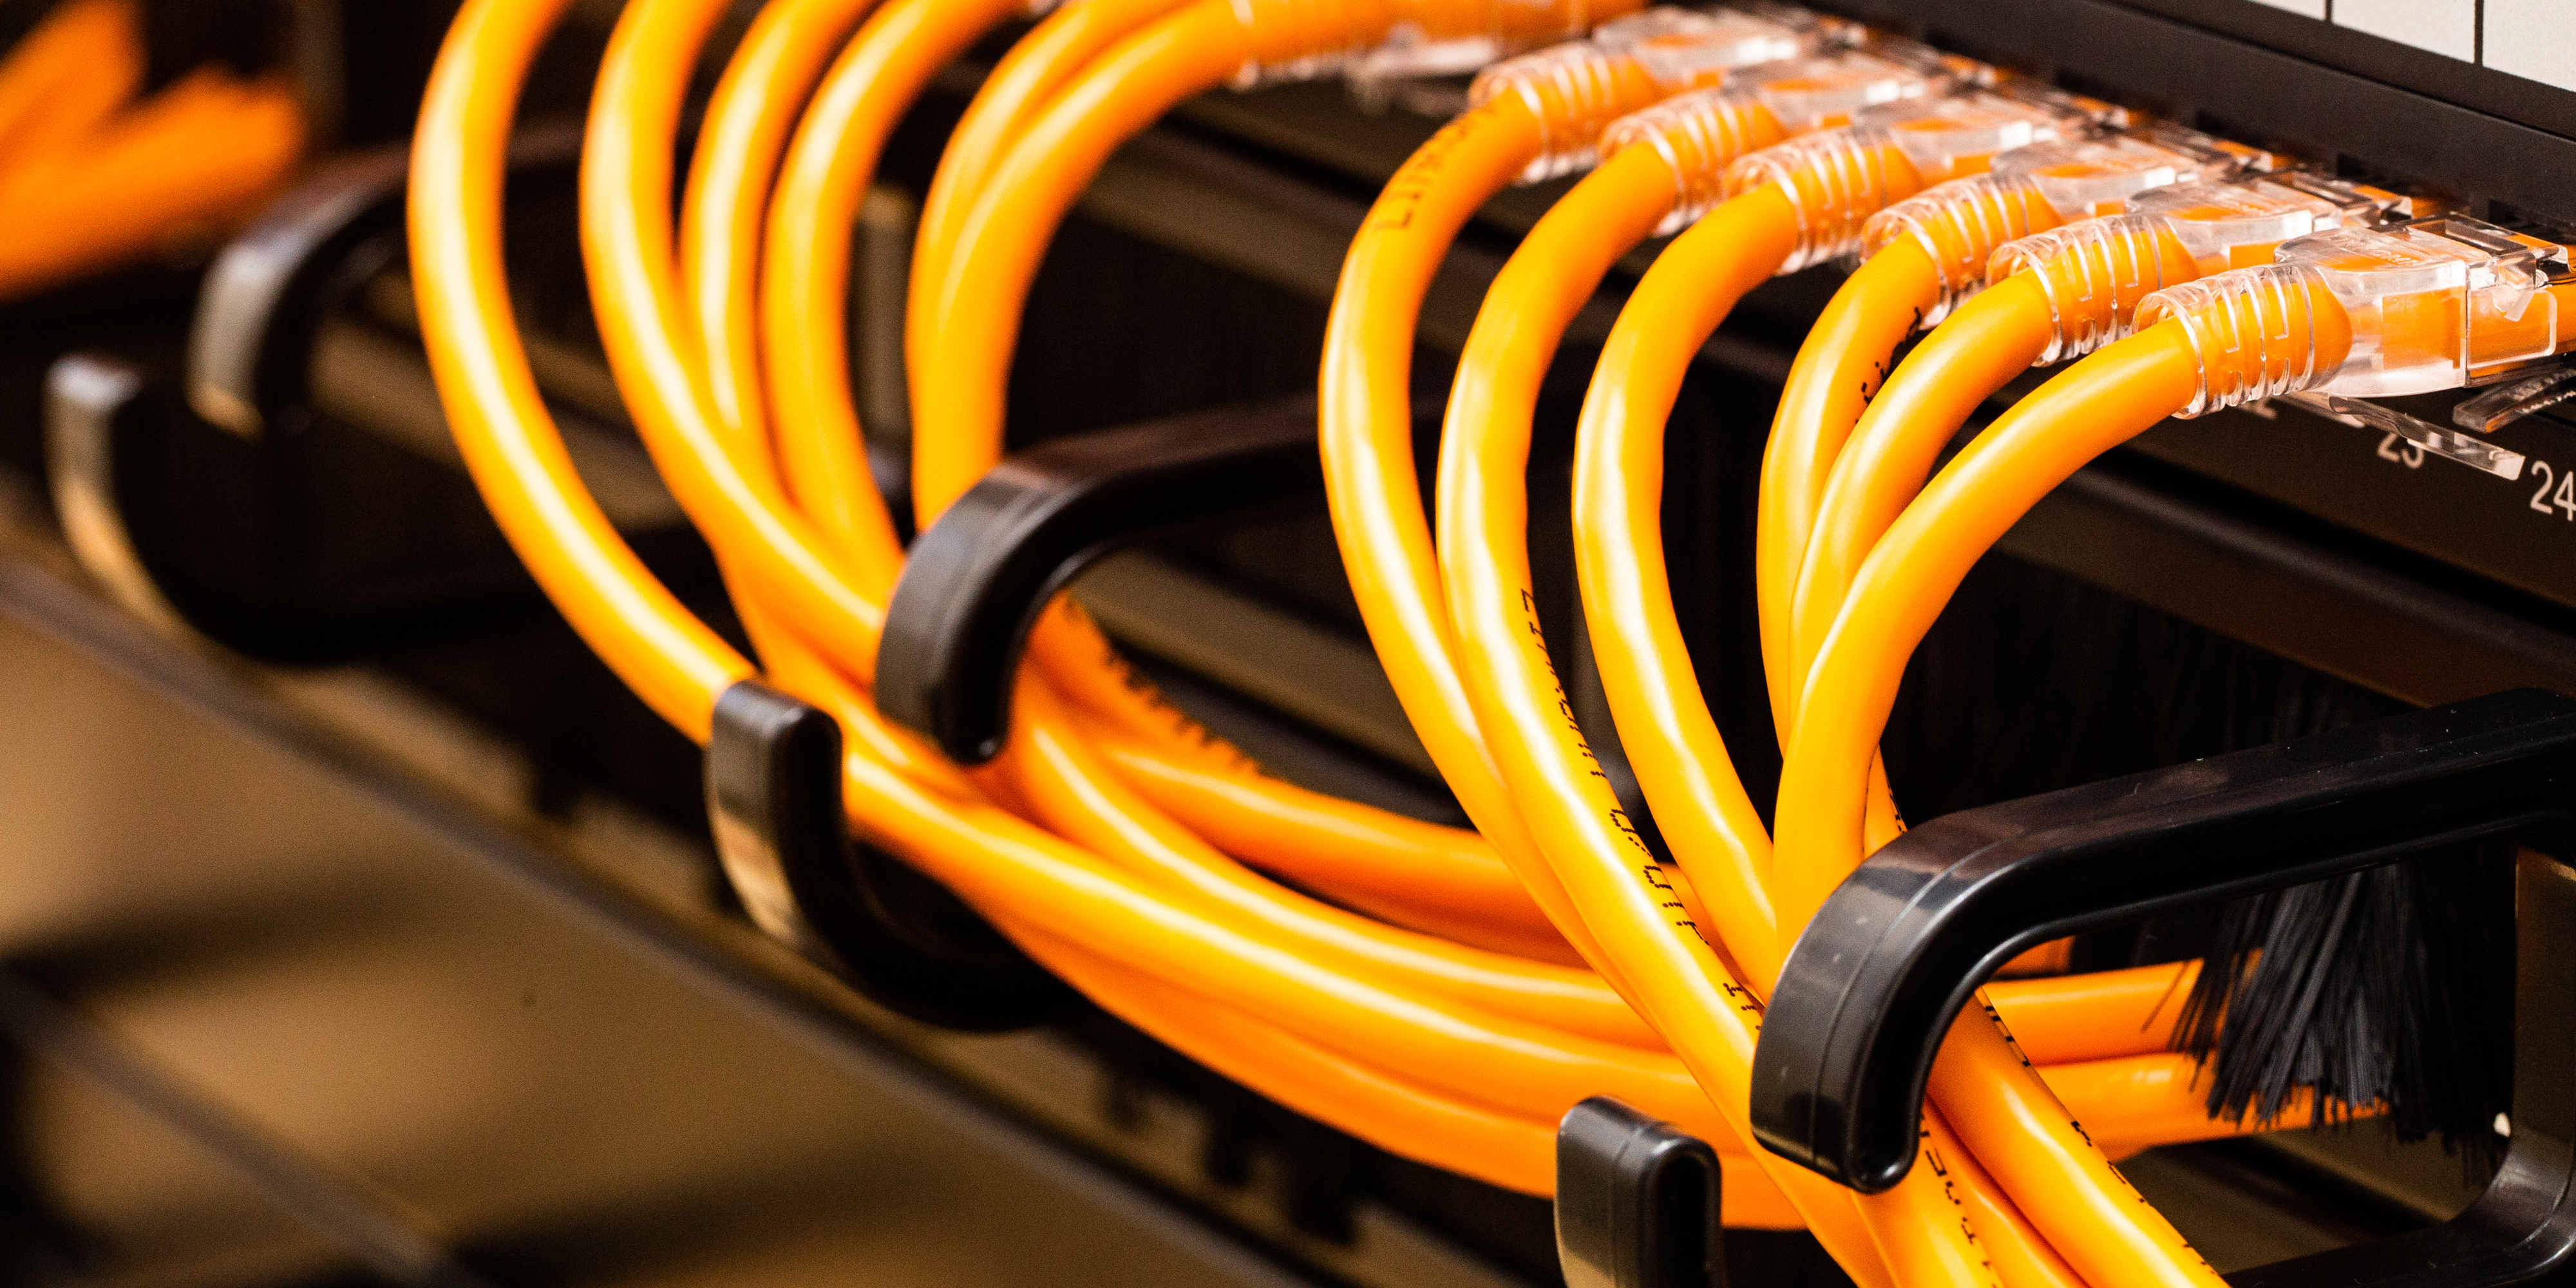
4. Cable Managers & D-Rings: Maintain Order
Cable managers and D-Rings help guide cable paths and reduce tension.
Steps to organize cables:
Plan routing from Patch Panel → D-Ring → Switch
Install horizontally or vertically to prevent sagging
Bundle cables with organizers or reusable ties
Pro tip:
Avoid sharp 90° bends when coiling excess cable.
Keep cables close to the rack edges to improve appearance and airflow.

5. Brush Panels & Blank Panels: Clean and Safe
Unprotected rack openings can collect dust and affect heat dissipation.
Brush panels and blank panels are simple but effective solutions.
Functions:
Brush panels: Fill gaps and block dust
Blank panels: Cover unused spaces and prevent cable sprawl
Dust plugs: Protect unused RJ45 ports
Pro tip:
For dense patch areas, install brush panels in segments so cables can pass through cleanly.
Match blank panel height to your rack units for a clean, consistent look.
6. Cable Labeling and Color Coding
A tidy rack also requires clear labeling and color separation for easy maintenance.
Best practices:
Use different colors for different systems or floors
Label both ends of every cable
Use removable or reusable cable ties
Pro tip:
Label long cables at both ends to prevent misconnection.
Ensure labels are legible and resistant to fading.

7. Complete Cable Management Workflow
To summarize, here’s a complete rack setup process:
Install Patch Panel for centralized cable management
Add shelves for non-rackmount devices
Mount D-Rings or cable managers to guide patch cords
Connect switches and power cables neatly
Add brush panels and blank panels to close gaps
Label and color-code all cables
Install dust plugs for unused ports
8. Maintenance Tips and Final Thoughts
With Patch Panels, Shelves, D-Rings, Cable Managers, Brush Panels, Blank Panels, and Dust Plugs, you can create a neat, reliable, and easy-to-maintain rack system.
Cable organization is an ongoing task — regular inspections keep your setup safe and efficient.
Maintenance checklist:
Inspect cables quarterly for looseness or wear
Clean dust regularly and ensure brush panels are intact
Follow existing routing plans when adding new equipment
A clean and organized rack not only improves performance but also reflects your professionalism and commitment to quality — essential for any office or data center.
Choose LINKOMM to eliminate cable clutter in your data center.
We understand the importance of structured cabling for every business operation. From patch panels and cable managers to D-Rings, brush panels, and rack shelves — each LINKOMM product is thoughtfully engineered to help you build an efficient, scalable, and professional network system.
Whether you’re organizing a small office rack or a full data center, LINKOMM provides complete solutions and expert knowledge to make your cabling clean, reliable, and future-ready.
Empower your network with structure and precision — LINKOMM helps you build a smarter, more stable, and professional IT infrastructure.
#LINKOMM #CableManagement #StructuredCabling #ServerRack #DataCenter #NetworkingSolutions #PatchPanel #RackAccessories #ProfessionalCabling #NetworkInfrastructure


